
A Practical Guide to Growing Chanterelle Mushrooms
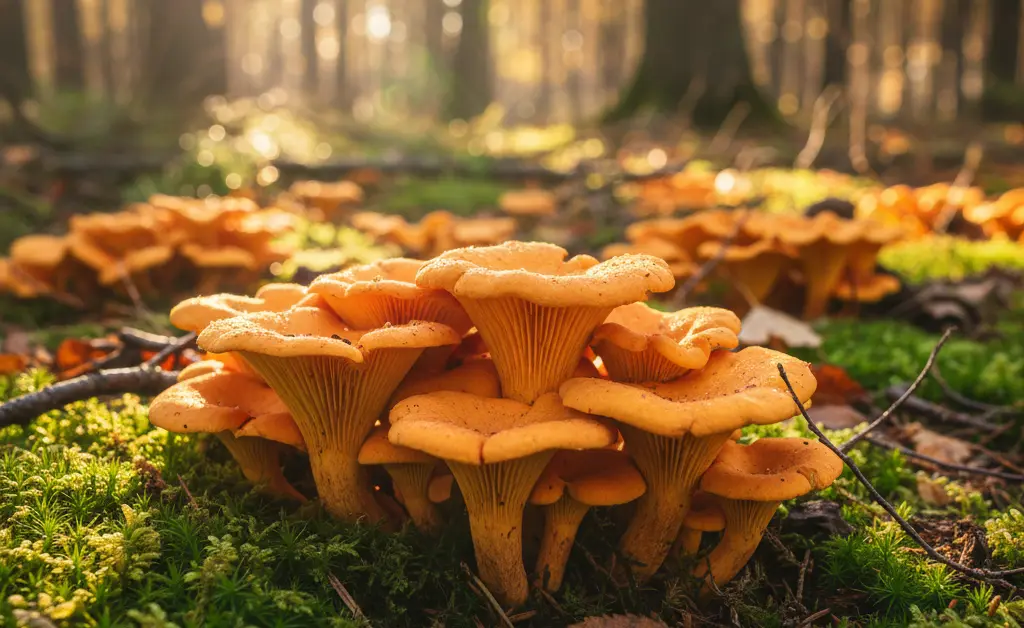
Imagine standing in your garden, perhaps after a gentle rain, and spotting a cluster of those delightful, golden chanterelle mushrooms peeking out from beneath a favorite tree. For many foragers, this is a dream scenario, but what if it were a reality you could cultivate yourself? While the wild harvest is often unpredictable, venturing into chanterelle mushroom cultivation opens up a rewarding possibility for home growers. This guide aims to demystify the process, offering practical steps and insights to help you nurture these prized fungi from inoculation through to a successful harvest. We’ll explore the optimal timing, essential techniques, and the patient care required to bring the unique flavor of chanterelles from your yard to your table.
Preparing for Chanterelle Mushroom Cultivation
Before you begin, it’s essential to understand what makes growing chanterelle mushrooms different from cultivating more common mushrooms like shiitakes or oysters. Chanterelles are mycorrhizal fungi, which means they form a symbiotic relationship with the roots of living host trees. They cannot be grown on logs or substrate blocks like saprophytic mushrooms, which feed on dead organic matter. This crucial detail is the foundation of any successful chanterelle mushroom cultivation attempt. It’s important to note that a chanterelle mushroom log would not be suitable for this species, as their cultivation differs significantly from saprophytic fungi.
Success starts with choosing a compatible host tree. Chanterelles are known to partner with specific types of trees, with some of the most common hosts being spruce, pine, fir, and oak. Younger, healthy trees are often better candidates as their root systems are more vigorous and accessible. Once you have a suitable tree, selecting the right location is the next step. The area should offer partial shade to protect the soil from drying out and have good air circulation. The soil itself should be a primary focus; chanterelles thrive in acidic soil with a high humus content. You can amend the soil around your chosen tree with peat moss or pine needle mulch to help create these ideal conditions.
Best Time of Year for Inoculation
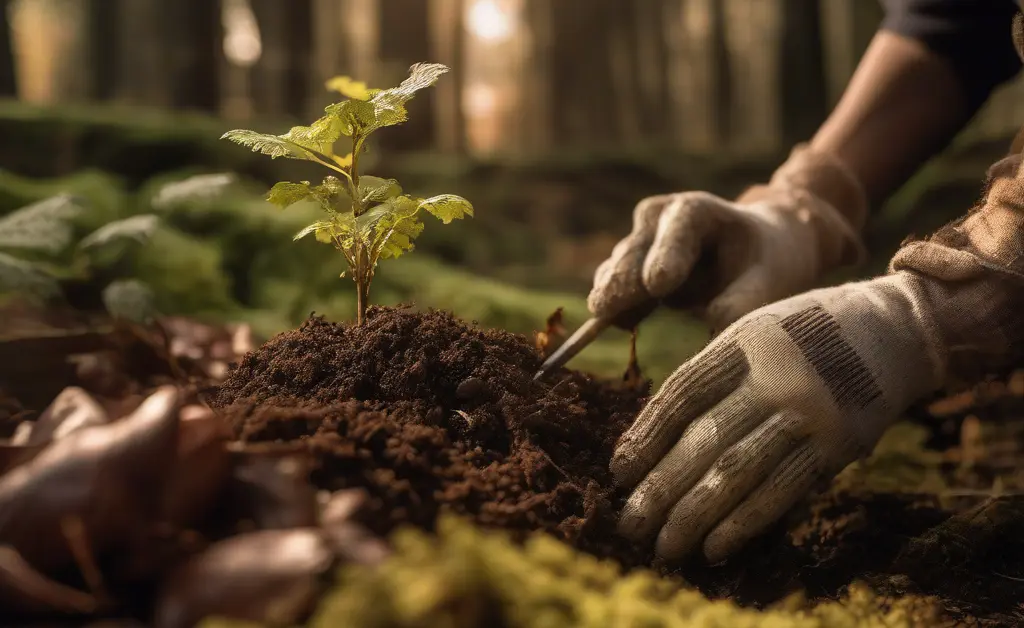
Timing is a critical factor for giving the chanterelle mycelium the best possible start. The goal is to introduce the spores or mycelium when the host tree’s roots are most active and receptive. This allows the symbiotic relationship to establish more efficiently. Generally, the best periods for inoculation are during the late spring or early autumn.
In late spring, the soil has warmed up, and trees are actively growing, pushing nutrients and water through their root systems. This activity creates an ideal environment for the chanterelle fungus to connect with the tree’s feeder roots. Similarly, early autumn provides another window of opportunity. The soil is still warm from the summer, and while tree growth is slowing above ground, the roots often have a final surge of activity as they store energy for winter. Avoid inoculating during the peak heat of summer or the deep cold of winter, as these extreme temperatures can stress the mycelium and hinder its establishment.
The Inoculation Process for Chanterelles
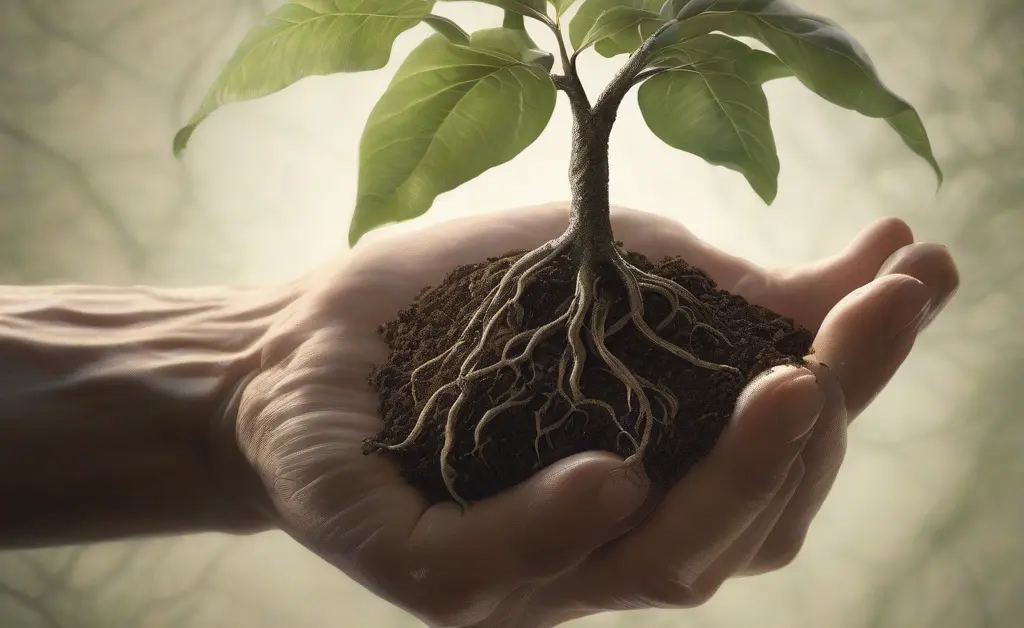
Inoculation is the active process of introducing the chanterelle fungus to the host tree’s root system. Unlike simply scattering seeds in a garden, this process requires care and precision to encourage the formation of the vital mycorrhizal bond. The objective is to bring the chanterelle spores or mycelium into direct contact with the fine, hair-like feeder roots of the compatible tree, which are typically found in the top several inches of soil. For those seeking an all-in-one solution, a chanterelle mushroom grow kit can simplify the initial steps of cultivation.
Methods of Inoculating Tree Roots
The most common method involves carefully exposing a small section of the tree’s surface roots. This should be done gently to avoid damaging the tree. Locate an area under the tree’s drip line, which is the outer edge of its canopy. Here, you can carefully scrape away the top layer of soil and leaf litter until you find the fine web of feeder roots. The inoculum, whether a slurry or mycelium-colonized material, is then applied directly to these exposed roots. Afterward, the roots are gently covered back up with the original soil and a layer of mulch, such as pine needles or leaf litter, to help retain moisture and protect the area.
Using Spore Slurry vs. Mycelium Plugs
Growers have two primary options for inoculum: a spore slurry or mycelium plugs. A spore slurry is a liquid mixture containing millions of chanterelle spores suspended in water. These chanterelle mushroom spores for sale are often a popular choice for home cultivators. Sometimes, salt or a bit of sugar is added to the mixture. This liquid is poured over the exposed feeder roots, allowing the spores to germinate and begin the process of connecting with the tree. One way to create a slurry is by using a spore print from mature chanterelles.
Mycelium plugs, on the other hand, are small wooden dowels or other carrier materials that have been fully colonized with living chanterelle mycelium. These are often seen as a more direct method, as you are introducing an already-established fungal network. The plugs are inserted into the ground around the feeder roots. While potentially more reliable, pure chanterelle mycelium can be harder to source commercially than spores. Both methods require patience, as it takes a significant amount of time for the mycelium to establish itself.
Long-Term Care and Maintenance of Cultivated Chanterelles
Once inoculation is complete, the journey truly begins. The long-term care phase is largely about creating and maintaining a stable, supportive environment for the mycelium to thrive and bond with its host tree. Unlike traditional gardening, this process is less about active intervention and more about patient observation and protection. A successful, multi-year approach to care is a hallmark of dedicated chanterelle mushroom cultivation.
Watering and Moisture Management
Consistent moisture is paramount. The chanterelle mycelium and the shallow feeder roots it colonizes are susceptible to drying out. The area around the host tree should be kept consistently damp, but never waterlogged. During periods of drought or low rainfall, you will need to provide supplemental watering. A deep, infrequent soaking is more effective than frequent, shallow watering. Applying a thick layer of organic mulch, like wood chips, straw, or fallen leaves, around the base of the tree is an excellent way to help the soil retain moisture, regulate temperature, and suppress weeds.
Protecting the Mycelium Network
The underground mycelial network is the lifeblood of your future chanterelle patch. It is incredibly delicate and must be protected from disturbance. This means the area around the inoculated tree should become a “no-dig” zone. Avoid compacting the soil with heavy foot traffic, lawnmowers, or vehicles. Furthermore, it is critical to refrain from using any chemical fertilizers, pesticides, or fungicides in the vicinity, as these can easily damage or destroy the sensitive fungal network and disrupt the symbiotic relationship with the tree. Adhering to strict guidelines regarding chemical use helps maintain ecosystem health, a principle also emphasized by organizations like the EFSA.
Patience: The Chanterelle Growth Timeline
If there is one essential ingredient for growing chanterelles, it is patience. The chanterelle growth timeline is measured in years, not months. After inoculation, it can take anywhere from two to five years, or even longer, for the mycelium to become fully established and mature enough to produce fruiting bodies (the mushrooms). During this time, you may see no signs of progress above ground. It is vital to continue maintaining the proper conditions and trust the process unfolding beneath the soil. This extended wait is often the biggest hurdle for aspiring growers.
Harvesting and Post-Harvest Handling of Chanterelles
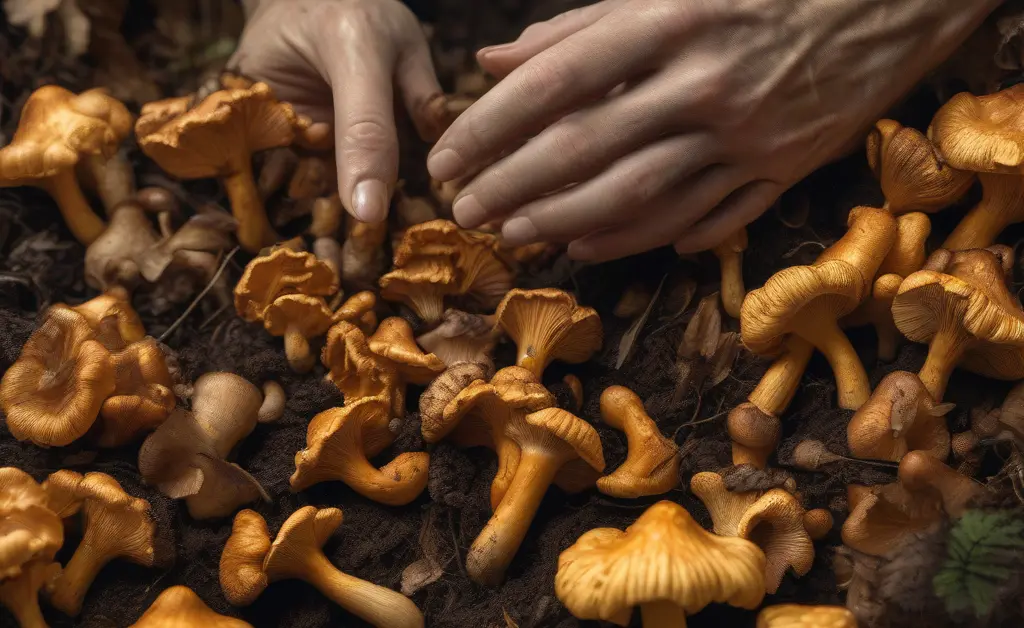
After years of patient care, the sight of your first golden chanterelles emerging from the soil is incredibly rewarding. Proper harvesting and handling are essential to not only enjoy your bounty but also to ensure the long-term health and productivity of your mycelial patch. The goal is to harvest the mushrooms without damaging the underlying network that will produce future flushes.
Identifying Ready-to-Pick Chanterelles
Chanterelles are ready to harvest when they have reached their characteristic shape and color but are still firm to the touch. Look for a vibrant, uniform apricot-yellow or golden hue. The cap should be wavy and funnel-shaped, and the false gills running down the stem should be well-defined. Avoid picking mushrooms that are pale, waterlogged, or showing signs of decay. A mature, prime chanterelle will have a firm texture and a distinct fruity aroma, often compared to apricots.
Proper Harvesting Techniques to Protect Mycelium
There are two widely accepted methods for harvesting that protect the mycelium. The first is to use a sharp knife to cut the mushroom stem just above the soil line. This technique ensures the underground portion of the mushroom and the surrounding mycelium are left completely undisturbed. The second method involves gently grasping the base of the stem and twisting it slowly as you pull it from the ground. This can be effective but carries a slightly higher risk of disturbing the soil. Whichever method you choose, be mindful and gentle to protect the fungal colony for years to come.
Cleaning and Storing Your Harvest
Chanterelles are delicate and absorb water easily, which can dilute their flavor and make them mushy. Therefore, you should never soak them. The best way to clean them is with a soft brush or a damp paper towel to gently wipe away any dirt or debris from the cap and stem. For short-term storage, place the cleaned mushrooms in a paper bag in the refrigerator, which allows them to breathe. For longer-term preservation, chanterelles are excellent when sautéed in butter or oil and then frozen, or they can be dehydrated for later use in soups and sauces.
Embarking on the path of growing chanterelles is a commitment to understanding and working with nature. It requires a deep appreciation for the complex, symbiotic dance between fungus and tree. From selecting the right host and preparing the soil to the meticulous inoculation and years of patient waiting, the process is a lesson in long-term stewardship. While success is never guaranteed, the reward of harvesting your own golden chanterelles, cultivated through care and perseverance, is an unparalleled experience for any gardener or mushroom enthusiast.
not applicable
FAQ
Is it possible to farm chanterelle mushrooms?
While many popular mushrooms like oyster or shiitake are cultivated on substrates, chanterelle mushroom cultivation is considerably more complex due to their mycorrhizal nature. This means they form a symbiotic relationship with tree roots, making them challenging to grow in controlled environments without specific conditions that mimic their natural habitat.
How long does it take to grow chanterelles after inoculation?
The fruiting cycle for chanterelles is not directly comparable to many commercially grown mushrooms. Their development is intrinsically linked to environmental cues such as temperature and moisture, and the time from inoculation to fruiting can vary significantly, often taking several months to over a year.
Can you grow chanterelles from a spore print?
Growing chanterelles from a spore print presents a significant challenge. Unlike some other fungi, chanterelle spores often require specific conditions and a host tree to germinate and develop properly, a process that is difficult to replicate reliably in a typical home growing setup.