
A Beginner’s Guide to Cultivating Mushrooms at Home
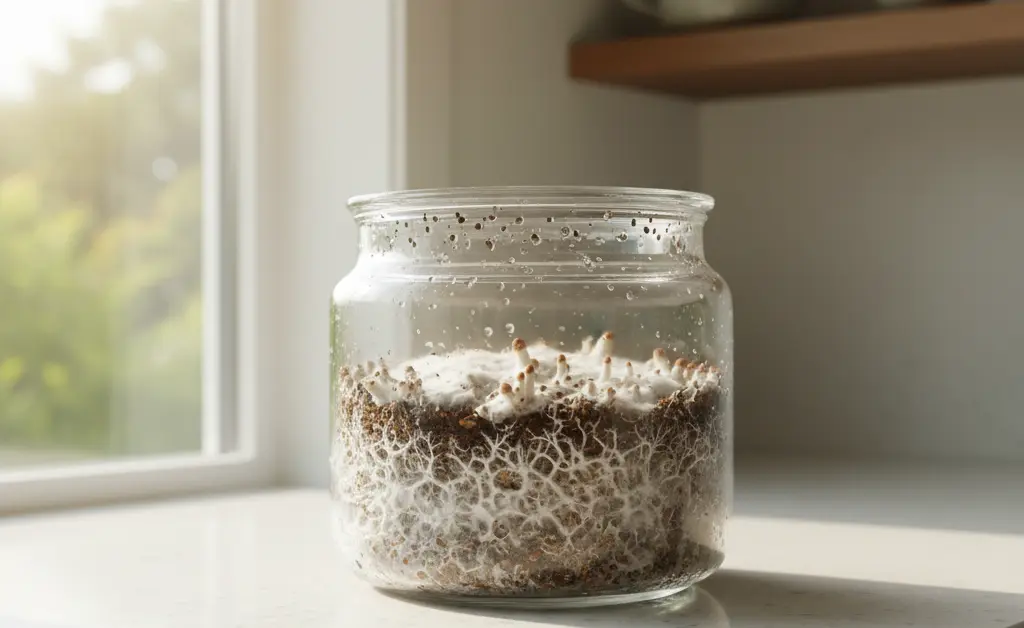
The fascinating world of fungi often inspires curiosity, particularly when it comes to cultivating these unique organisms. Many people are intrigued by the possibility of harvesting fresh, delicious mushrooms right from their own living space. This guide explores the practicalities of how to grow edible mushrooms at home, offering a comprehensive overview for beginners. We’ll delve into everything from choosing the right varieties and gathering necessary supplies to preparing substrates, understanding growth cycles, and troubleshooting common issues. By following these steps, you can embark on a rewarding journey of sustainable and fresh food production, transforming your kitchen or basement into a vibrant fungal farm.
How to Grow Mushrooms at Home: A Beginner’s Guide
Beginner-Friendly Mushroom Kits vs. DIY
Beginners often face the first decision: pre-made kits or a fully do-it-yourself approach. Mushroom growing kits provide a convenient entry point, typically arriving with an inoculated substrate block ready for fruiting. These kits often simplify the process, requiring minimal setup and offering a quicker path to the first harvest. They are an excellent way to gain confidence and experience the life cycle of fungi without a significant initial investment in equipment.
Conversely, the DIY approach to how to grow edible mushrooms at home offers greater control, cost savings in the long run, and a deeper understanding of mycology. It involves sourcing individual components like spores or liquid culture, preparing substrates, and managing environmental conditions from scratch. While more challenging initially, DIY cultivation allows for experimentation with a wider variety of mushroom types and scales of production. Many enthusiasts start with kits and gradually transition to DIY as their knowledge and passion grow.
How to grow button mushroom at home
Cultivating button mushrooms (Agaricus bisporus) at home is a popular endeavor, often considered a slightly more advanced beginner project compared to oyster mushrooms. These ubiquitous fungi thrive on composted manure-based substrates, requiring specific conditions for successful fruiting. The process typically involves preparing a rich compost, inoculating it with mushroom spawn, and then casing it with a layer of peat moss or similar material. Maintaining consistent humidity and temperature is crucial throughout the incubation and fruiting phases. While more involved than a simple kit, successfully growing button mushrooms can be a highly rewarding experience, providing a continuous supply of these versatile culinary favorites.
Choosing Your Edible Mushroom Type
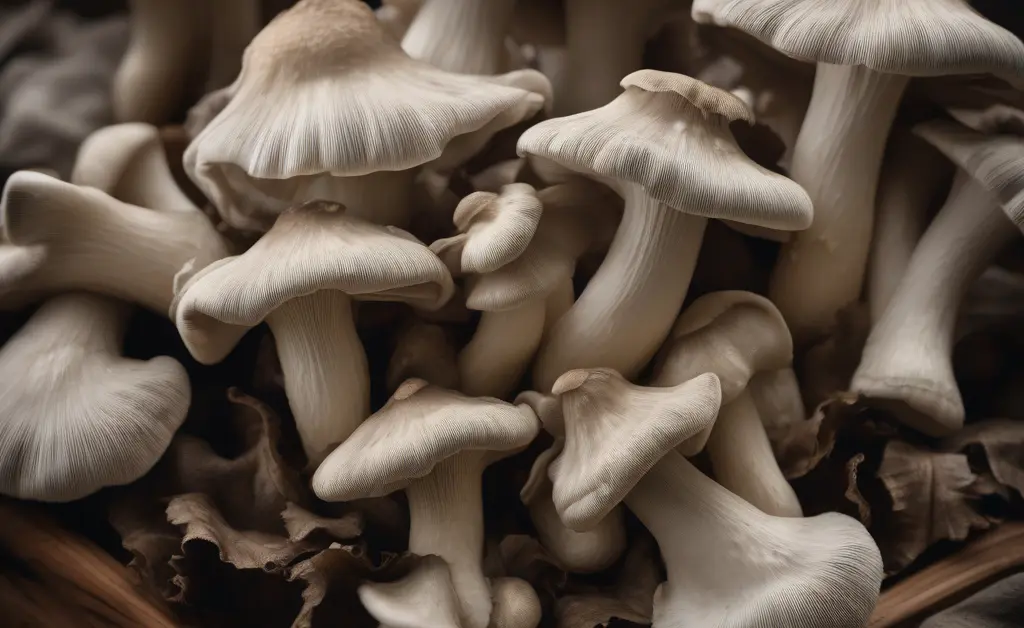
What is the easiest edible mushroom to grow?
For those just starting their journey in edible mushroom cultivation at home, oyster mushrooms (Pleurotus ostreatus) are widely recognized as the easiest to cultivate. They are incredibly resilient, grow quickly, and can tolerate a range of growing conditions and substrates, including straw, coffee grounds, and sawdust. Other beginner-friendly options include lion’s mane (Hericium erinaceus) and reishi (Ganoderma lucidum), though oyster mushrooms generally offer the most straightforward and rapid success for first-timers looking to understand how to grow edible mushrooms at home.
Popular Edible Mushroom Varieties for Home Cultivation
Beyond oyster mushrooms, several other varieties are well-suited for home cultivation, each offering distinct flavors and textures.
- Shiitake Mushrooms (Lentinula edodes): Known for their rich, umami flavor, shiitake can be grown on hardwood logs or sawdust blocks. They require a bit more patience than oysters but are highly prized.
- Lion’s Mane Mushrooms (Hericium erinaceus): These unique-looking mushrooms have a delicate, seafood-like taste. They grow well on hardwood substrates and are relatively forgiving for beginners.
- Button/Cremini/Portobello Mushrooms (Agaricus bisporus): These are the most common culinary mushrooms and can be grown at home, typically requiring a compost-based substrate and specific casing layer.
- Reishi Mushrooms (Ganoderma lucidum): While often consumed for their potential wellness properties rather than culinary delight, reishi are relatively easy to grow on hardwood.
- Wine Cap Mushrooms (Stropharia rugosoannulata): Also known as “garden giant” mushrooms, these can be grown outdoors in wood chip beds and are quite robust.
Ongoing research, supported by institutions like the NIH, continues to explore the potential health benefits of various mushroom species.
Gathering Your Supplies and Equipment
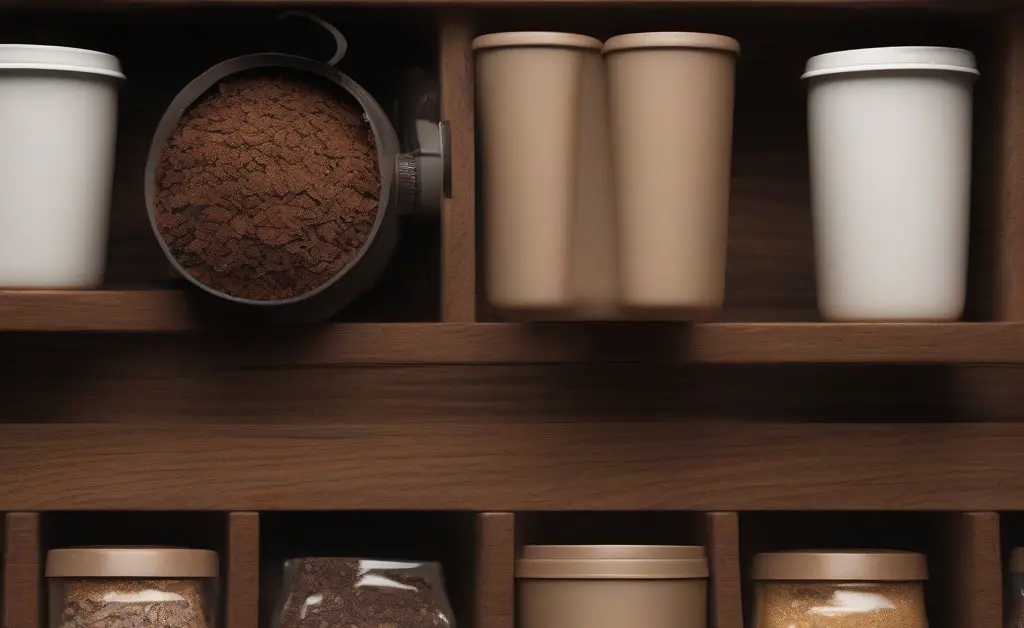
Substrate Materials (e.g., sawdust, straw, compost)
The substrate is the material on which your mushrooms will grow, providing essential nutrients. Common substrate materials include:
- Sawdust: Particularly hardwood sawdust (oak, maple, beech) is excellent for many gourmet and medicinal mushrooms like shiitake, lion’s mane, and reishi.
- Straw: Cereal straws (wheat, oat, rice) are popular for oyster mushrooms due to their ease of preparation and decomposition.
- Compost: Specialized composted manure or agricultural waste is primarily used for button mushrooms.
- Coffee Grounds: A readily available waste product, often used in combination with other substrates for oyster mushrooms.
- Wood Chips: Ideal for outdoor cultivation of varieties like wine caps.
Selecting the right substrate is a critical step in the beginner guide to growing mushrooms at home.
Containers (e.g., grow bags, tubs, jars)
The type of container used depends on the scale and method of cultivation:
- Grow Bags: Specifically designed polypropylene bags are widely used for bulk substrate cultivation, particularly for sawdust and straw-based methods. They can be sealed and sterilized.
- Tubs/Monotubs: Large plastic storage tubs are often modified with air holes and filters to create a controlled environment for bulk substrates, common in methods using grain spawn transferred to a larger substrate.
- Jars: Glass canning jars are excellent for preparing grain spawn (e.g., rye, millet) or smaller substrate blocks, as they are easily sterilized in a pressure cooker.
- Fruiting Chambers: Dedicated chambers, often modified containers or tents, help maintain optimal humidity and fresh air exchange during the fruiting phase.
Some innovative growers also experiment with creative containers such as learning how to grow mushrooms in a cardboard box for smaller projects.
Sterilization Equipment (e.g., pressure cooker, autoclave)
Sterilization is paramount to prevent contamination from competing microorganisms.
- Pressure Cooker: A large household pressure cooker is often sufficient for sterilizing small batches of grain spawn or substrate in jars.
- Autoclave: For larger operations or commercial growers, an industrial autoclave provides a more robust and efficient sterilization method for bulk substrates in bags.
- Pasteurization: For substrates like straw or compost, pasteurization (heating to a lower temperature for a longer period) is often sufficient, reducing contaminant load without eliminating beneficial microbes.
Environmental Control Tools (e.g., thermometer, hygrometer)
Maintaining the right environmental conditions is crucial for successful mushroom growth.
- Thermometer: To monitor and control ambient and substrate temperatures.
- Hygrometer: To measure humidity levels, which are critical during incubation and especially fruiting.
- Fan/Air Pump: For ensuring adequate fresh air exchange, preventing CO2 buildup which can inhibit fruiting.
- Humidifier/Mister: To maintain high humidity in fruiting chambers.
- Light Source: While many mushrooms don’t require light for growth, it can act as a pinning trigger for some species and helps with proper cap development. Simple LED lights are often sufficient.
Preparing and Inoculating Your Mushroom Substrate
Sterilization vs. Pasteurization Techniques
Understanding the difference between sterilization and pasteurization is key for successful mushroom cultivation. Sterilization aims to kill all microorganisms, both good and bad, creating a completely clean slate. This is typically achieved using a pressure cooker or autoclave at high temperatures for an extended period. It is commonly used for nutrient-rich substrates like grains or sawdust, where contamination is a high risk.
Pasteurization, on the other hand, reduces the number of competing organisms without eliminating all of them. This is often done by heating substrates like straw or compost in hot water or steam at lower temperatures for several hours. This method leaves some beneficial microbes that can help the mushroom mycelium outcompete residual contaminants. The choice between the two depends largely on the substrate type and the specific mushroom species being cultivated for those learning how to grow edible mushrooms at home.
Common Substrate Recipes for Different Mushroom Types
Substrate recipes vary significantly based on the mushroom species.
- Oyster Mushrooms: Often thrive on pasteurized straw, supplemented with a small percentage of bran or gypsum. They can also grow on coffee grounds or hardwood sawdust.
- Shiitake Mushrooms: Primarily grown on sterilized hardwood sawdust blocks (often supplemented with wheat bran) or on hardwood logs (e.g., oak).
- Lion’s Mane Mushrooms: Prefer sterilized hardwood sawdust blocks, sometimes with a grain supplement.
- Button Mushrooms: Require a carefully prepared, specialized composted substrate, often cased with a layer of peat moss.
Proper substrate preparation, including hydration and sterilization/pasteurization, is fundamental to successful mushroom growing.
Understanding Mycelial Growth Stages
After inoculation (introducing mushroom spawn or culture to the substrate), the fungal organism, known as mycelium, begins to colonize the substrate. This white, thread-like growth is the vegetative part of the fungus.
- Colonization: The mycelium spreads throughout the substrate, digesting nutrients. This stage requires warmth and often darkness.
- Pinning/Initiation: Once the substrate is fully colonized and environmental conditions (like a drop in temperature, increase in fresh air, or light exposure) signal it’s time to fruit, tiny mushroom primordia, or “pins,” begin to form.
- Fruiting: These pins rapidly develop into mature mushrooms, absorbing water and expanding. This stage requires high humidity, fresh air, and often some indirect light. Observing these stages provides valuable insight into the life cycle of the mushrooms and helps growers understand when to adjust environmental parameters.
Incubation and Fruiting Conditions for Homegrown Mushrooms
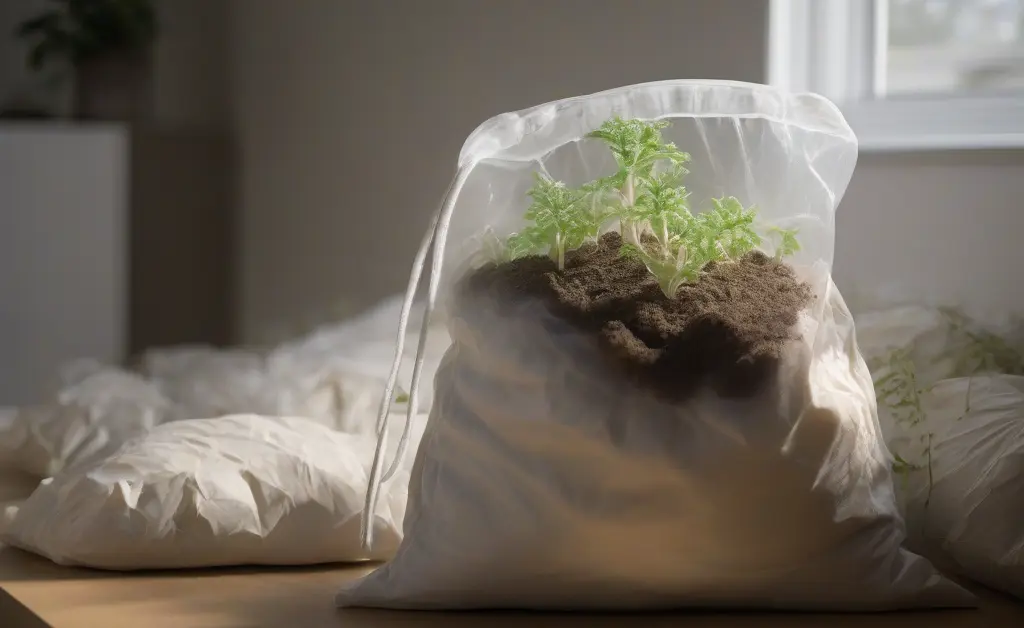
Optimal Temperature and Humidity for Incubation
The incubation phase, where the mycelium colonizes the substrate, generally requires consistent warmth and relatively stable humidity within the substrate itself. Specific temperature ranges vary by species, but most common edible mushrooms prefer temperatures in a comfortable range during this period. The substrate should be kept in a dark or dimly lit area, as light is typically not needed, and can even be detrimental, during initial colonization. Humidity inside the grow bag or container should remain high to prevent the substrate from drying out, which can halt mycelial growth. Managing these conditions effectively is a key step for those undertaking beginner guide to growing mushrooms at home.
Initiating Fruiting: Light, Fresh Air, and Humidity
Once the substrate is fully colonized, the conditions must be altered to induce fruiting. This transition often involves a combination of environmental cues:
- Temperature Drop: Many species require a slight drop in temperature to signal the change of seasons and encourage pinning.
- Increased Fresh Air Exchange (FAE): Mycelium produces carbon dioxide. During fruiting, increased FAE helps to remove CO2, which can inhibit mushroom formation, and provides the necessary oxygen for pin development. This can be achieved by opening vents, fanning, or using an air pump.
- Light: While not a primary energy source, indirect light can act as a pinning trigger for many species and is essential for proper cap and stem development, influencing the direction of growth.
- High Humidity: Critically important during fruiting, humidity levels often need to be maintained at a high percentage to prevent the delicate pins from drying out and to support the expansion of the mushrooms. Misting, humidifiers, or fruiting chambers are commonly used to achieve this.
Harvesting and Troubleshooting Common Mushroom Growing Problems
When to Harvest
Knowing the optimal time to harvest is essential for quality and yield. Generally, mushrooms are ready when their caps have fully expanded but before they begin to flatten out or release a significant amount of spores. For oyster mushrooms, this means when the edges of the caps are still slightly curled inward. Shiitake are typically harvested when their caps are mostly open but still have a slight curl. Button mushrooms are harvested at various stages depending on whether they are sold as buttons, cremini (young, open cap), or portobello (fully open cap). Harvesting at the right time ensures the best texture, flavor, and encourages subsequent flushes of mushrooms. This is a crucial skill to develop when learning how to grow edible mushrooms at home.
Proper Harvesting Techniques
Proper harvesting techniques minimize damage to the substrate and encourage future growth.
- Twist and Pull: For cluster-forming mushrooms like oysters, gently twist the entire cluster at the base until it detaches from the substrate.
- Cut at Base: For individual mushrooms like shiitake or button mushrooms, use a clean, sharp knife or blade to cut the stem as close to the substrate as possible, avoiding cutting into the block itself.
Always use clean hands or gloves to prevent introducing contaminants to the vulnerable substrate.
Post-Harvest Handling and Storage
Immediately after harvesting, mushrooms should be handled gently. Avoid washing them until just before use, as excess moisture can accelerate spoilage.
- Storage: Store mushrooms in a paper bag in the refrigerator. The paper bag allows for air circulation while absorbing excess moisture, helping to keep them fresh for a longer period. Avoid plastic bags, which trap moisture and can lead to sliminess.
- Drying/Freezing: For longer-term storage, many types of mushrooms can be dried or blanched and then frozen.
Contamination Identification and Prevention
Contamination
FAQ
What is the easiest mushroom to grow at home?
Oyster mushrooms are widely recognized as a beginner-friendly choice for home cultivation. Their rapid growth cycle and adaptability to various conditions make them a forgiving option for those new to mushroom farming.
What materials do I need to grow mushrooms at home?
Essential materials typically include a mushroom spawn (which contains the mushroom mycelium), a substrate to nourish the mycelium, and a controlled environment for incubation and fruiting. Tools for sterilizing substrates and maintaining humidity are also often necessary.
How long does it take to grow mushrooms at home?
The timeline for growing mushrooms at home can vary significantly depending on the species and the method used. Some varieties, like oyster mushrooms, can produce a harvest within a few weeks, while others may require a longer incubation period before fruiting.
Can I grow mushrooms from store-bought mushrooms?
While it’s possible to extract spores or mycelium from some store-bought mushrooms, this method is often challenging and less reliable for beginners. Commercially produced spawn is usually sterilized and guaranteed to be free of contaminants, offering a more consistent starting point for cultivation.
What is the best substrate for growing edible mushrooms?
The ideal substrate depends on the specific mushroom species you wish to cultivate. For instance, many oyster mushroom strains thrive on pasteurized straw or sawdust, while others may prefer composted manure or grain-based mixtures.