
A Step-by-Step Guide to Cultivating Mushrooms
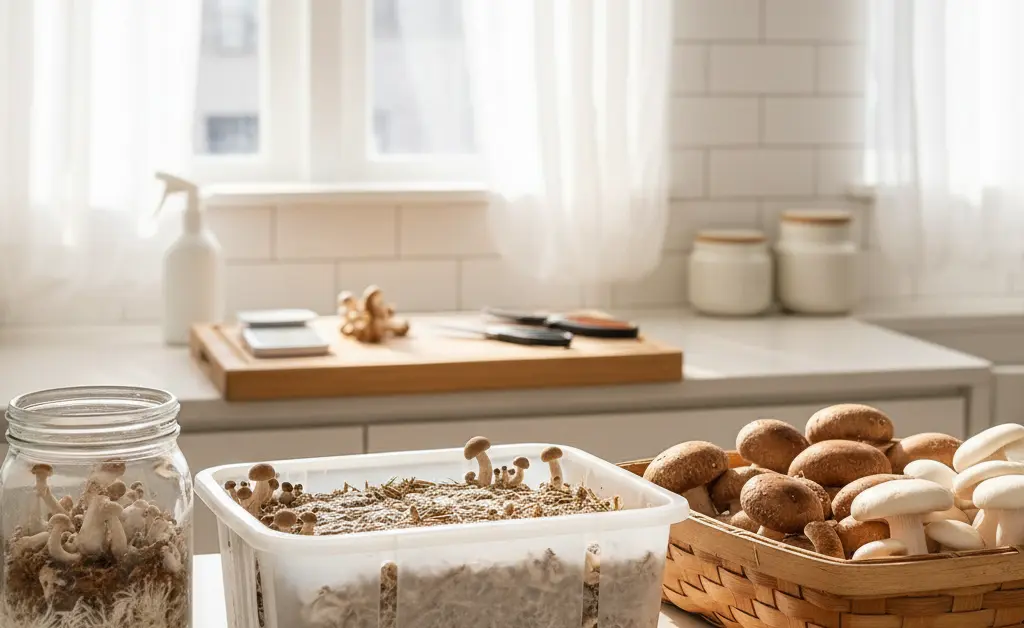
Imagine plating a delicious stir-fry or a hearty soup, and realizing how much fresher it would taste with mushrooms you’ve grown yourself, plucked just hours before. The thought of cultivating your own fungi, however, might seem daunting, conjuring images of complex laboratory setups. Yet, with the right knowledge and a methodical approach, home mushroom cultivation is an accessible and rewarding endeavor. This comprehensive guide breaks down the entire mushroom cultivation process step by step, empowering enthusiasts and beginners alike to transform simple spores into bountiful harvests. Discover the practical techniques and essential considerations needed to successfully grow various mushroom species right in your home environment, turning a curious interest into a sustainable source of fresh produce.
Mushroom Cultivation: A Step-by-Step Overview
Embarking on the journey of growing your own mushrooms can be a deeply satisfying experience. Understanding the fundamental stages of development and the overall sequence of operations is crucial for success. This introductory section provides a foundational understanding of the entire mushroom cultivation process step by step, from initial preparation to the final harvest. Visual learners may also find mushroom cultivation videos to be a helpful resource for practical demonstrations.
What are the 5 steps of mushroom cultivation?
While the exact number can vary depending on how one categorizes them, mushroom cultivation generally involves five primary operational steps:
- **Substrate Preparation:** This involves selecting and preparing the growing medium, often through hydration and sterilization or pasteurization.
- **Inoculation:** Introducing the mushroom spawn (mycelium) to the prepared substrate.
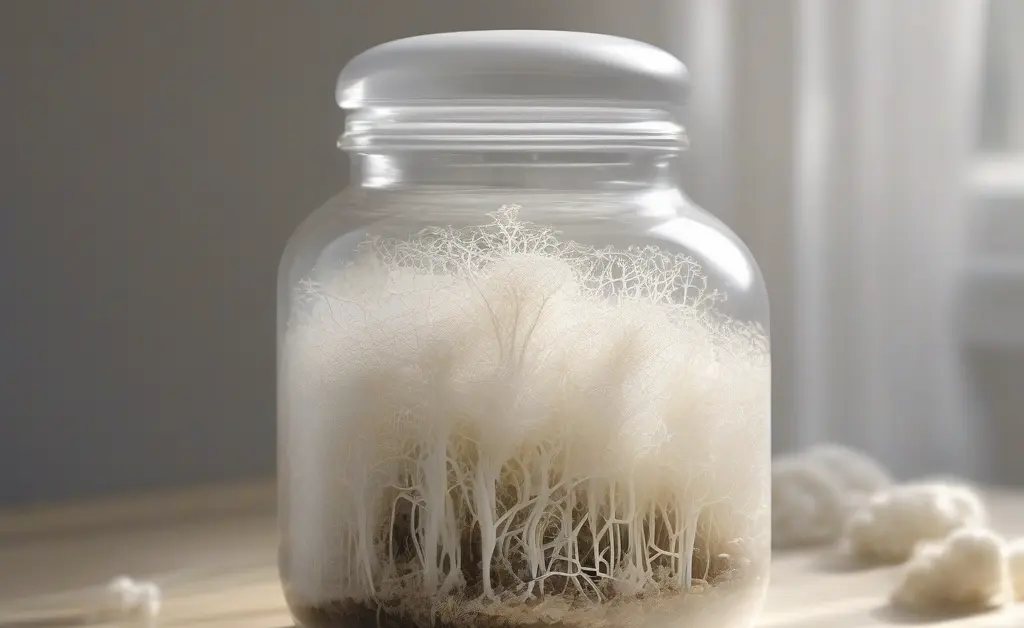
- **Incubation/Colonization:** Allowing the mycelium to fully grow and spread throughout the substrate, forming a dense network.
- **Fruiting:** Creating the appropriate environmental conditions to trigger the formation of mushroom “pins” and their subsequent development into mature mushrooms.
- **Harvesting and Post-Harvest:** Picking the mature mushrooms and preparing them for consumption or storage, which may include cleaning and preservation methods.
Each of these steps requires careful attention to detail to ensure a successful yield.
What are the 5 stages of mushroom growth?
From a biological perspective, the life cycle of a mushroom also typically involves five key stages:
- **Spore Germination:** Microscopic spores germinate on a suitable substrate to form hyphae.
- **Mycelial Growth:** Individual hyphae branch and intertwine to create a vast, root-like network known as mycelium, which colonizes the substrate.
- **Pinning (Primordia Formation):** Under specific environmental triggers, the mycelium aggregates into tiny knots, which develop into primordia, also known as “pins” – the nascent forms of mushrooms.
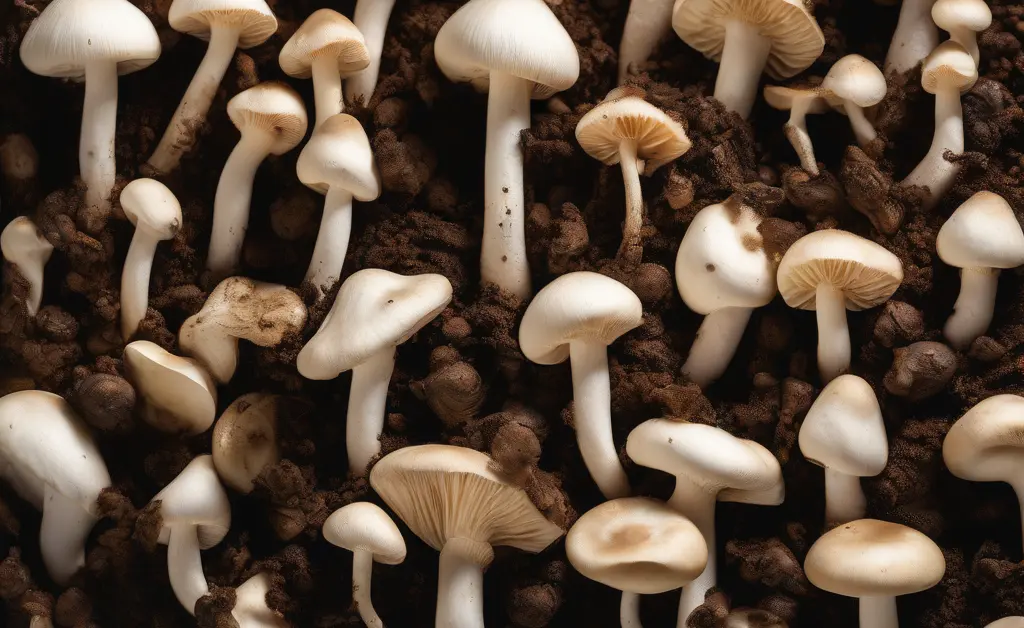
- **Fruiting Body Development:** The pins rapidly expand, differentiating into the familiar cap, stem, and gills of the mature mushroom.
- **Spore Release:** Once mature, the mushroom releases new spores, completing the life cycle and allowing for further propagation.
Understanding these biological stages helps cultivators provide the optimal conditions at each phase.
Mushroom Cultivation for Beginners: A Step-by-Step Timeline
For those new to the hobby, understanding mushroom cultivation for beginners involves grasping the typical timeline, though it varies significantly by mushroom species and environmental conditions. Typically, the entire mushroom cultivation process, from inoculation to first harvest, might span several weeks to a couple of months. Substrate preparation and sterilization can take a day or two. Inoculation is usually quick. Mycelial colonization can range from 1 to 4 weeks. Fruiting conditions are then introduced, and the first flush of mushrooms may appear within 5 to 14 days, followed by harvesting. Subsequent “flushes” or harvests can occur over the next few weeks.
Mushroom cultivation diagram
A typical mushroom cultivation diagram visually represents the flow of the process. It often starts with “Substrate” and branches to “Preparation (Hydration & Sterilization/Pasteurization).” From there, an arrow points to “Inoculation” where “Spawn” is introduced. This leads to “Incubation,” showing the “Mycelial Colonization” within the substrate. The next phase is “Fruiting,” indicating the formation of “Pins” and “Fruiting Bodies.” Finally, “Harvest” is depicted, sometimes with an arrow cycling back to allow for “Multiple Flushes.” Such a diagram simplifies the complex steps into an easily understandable sequence.
Mushroom cultivation process step by step
To successfully cultivate mushrooms, a methodical approach to the mushroom cultivation process step by step is essential. Each phase builds upon the previous one, requiring attention to detail and appropriate techniques to ensure healthy growth and a bountiful harvest. This section delves into the practical aspects of growing mushrooms, from preparing your initial materials to harvesting and storing your bounty.
Substrates and Growing Mediums
The substrate is the material on which your mushrooms will grow, serving as their primary food source. Choosing the right substrate is paramount and depends heavily on the mushroom species you intend to cultivate. Common substrates vary widely in their nutritional content and physical properties.
Common Substrate Types (e.g., Sawdust, Grain, Compost)
- Sawdust: Often derived from hardwoods, sawdust is a popular choice for many gourmet and medicinal mushroom varieties like Oyster, Shiitake, and Reishi. It typically needs to be supplemented with bran or other nitrogen sources.
- Grain: Rye, wheat, and millet are commonly used for making mushroom spawn due to their high nutritional value, which promotes rapid mycelial growth. Grain is less frequently used as a primary fruiting substrate for commercial production, but can be for certain species.
- Compost: Specialized compost mixes, often incorporating straw, manure, and gypsum, are essential for growing dung-loving species like Button mushrooms (Agaricus bisporus) and Portobello.
- Straw: A relatively inexpensive and easy-to-handle substrate, straw is excellent for Oyster mushrooms. It requires less sterilization than sawdust or grain, often only pasteurization.
- Coffee Grounds: A sustainable option, spent coffee grounds can be used for growing Oyster mushrooms, though they tend to be susceptible to contamination and are often used in smaller, beginner-friendly setups.
Containers and Bags
The choice of container or bag depends on the cultivation method and scale.
- Filter Patch Bags: These specialized polypropylene bags have a breathable filter patch that allows for gas exchange while preventing contaminants from entering. They are widely used for bulk substrate colonization and fruiting.
- Jars: Glass canning jars (e.g., Mason jars) are excellent for preparing grain spawn and for smaller-scale substrate colonization due to their ease of sterilization and handling.
- Totes/Bins: Larger plastic storage containers can be modified to create fruiting chambers or used for bulk substrate cultivation, often with a lid for humidity control.
- Blocks: Pre-sterilized substrate blocks, often in plastic bags, are a convenient option, especially for beginners.
Sterilization Equipment
Sterilization is a critical step in the mushroom cultivation process step by step, particularly for grain and sawdust-based substrates, to eliminate competing microorganisms. Adhering to strict hygiene is important for food safety, as highlighted by guidelines from organizations like the FDA.
- Pressure Cooker/Autoclave: Essential for achieving the high temperatures and pressures required to sterilize substrates effectively. Standard kitchen pressure cookers can be used for smaller batches, while larger operations use industrial autoclaves.
- Heat-resistant Bags/Jars: Containers must withstand sterilization temperatures without melting or breaking.
Spawn and Inoculants
Spawn refers to a substrate (typically grain) that has been fully colonized by mushroom mycelium. It acts as the “seed” for your mushroom crop. Inoculants are broader terms that can include liquid cultures (mycelium suspended in a nutrient solution) or spore syringes (spores suspended in sterile water). High-quality, clean spawn or inoculants are fundamental to success.
Substrate Hydration and Sterilization/Pasteurization
Before inoculation, the substrate must be properly hydrated and treated to eliminate competitors.
- Hydration: Most substrates require rehydration to an optimal moisture content, typically between 50-75%, to support mycelial growth. This often involves soaking or mixing with water.
- Sterilization: This process uses high heat and pressure (e.g., in a pressure cooker) to kill all living organisms, including bacteria, molds, and their spores. It’s crucial for nutrient-rich substrates like grains and supplemented sawdust.
- Pasteurization: This involves heating the substrate to a lower temperature (e.g., 60-80°C or 140-175°F) for an extended period, which kills most harmful pathogens but leaves beneficial microbes. This method is often used for less nutritious substrates like straw and compost.
Sterile Techniques
Maintaining sterility during inoculation is paramount to prevent contamination. This involves working in a clean environment, using sterilized tools, and practicing aseptic techniques.
- Clean Workspace: A still air box (SAB) or a laminar flow hood is highly recommended for creating a sterile working area.
- Flame Sterilization: Using a flame (e.g., from an alcohol lamp or propane torch) to sterilize inoculation loops, needles, and knife blades.
- Personal Hygiene: Washing hands thoroughly and wearing gloves and a face mask helps prevent introducing contaminants.
Methods of Inoculation (e.g., Grain-to-Grain, Agar)
Inoculation is the process of introducing mushroom spawn or mycelium to the prepared substrate.
- Grain-to-Grain (G2G): Transferring colonized grain spawn from one jar to another sterile grain jar or bulk substrate. This is a common and efficient method for expanding spawn.
- Liquid Culture (LC): Injecting a liquid culture, which contains live mycelium in a nutrient broth, directly into the sterile substrate using a syringe.
- Spore Syringe: Injecting a spore solution into the substrate. This method is slower as spores first need to germinate.
- Agar: Transferring a piece of mycelium grown on an agar plate to a sterile substrate. This method is often used for cloning or isolating specific strains.
Creating the Right Environment (Temperature, Humidity, Darkness)
After inoculation, the substrate needs an optimal environment for mycelial colonization.
- Temperature: Each species has an optimal temperature range for mycelial growth, typically between 20-27°C (68-80°F). Consistent temperature is important.
- Humidity: While colonizing, high humidity is generally not critical within the substrate itself, but the surrounding air should not be excessively dry.
- Darkness (or low light): Mycelial growth generally thrives in darkness or very low light conditions. Light can sometimes trigger premature pinning, which is undesirable during colonization.
Monitoring Mycelial Growth
Regularly observing your inoculated substrate is important to ensure healthy colonization and detect any issues early. Check for signs of growth daily, but avoid opening containers unnecessarily to maintain sterility.
Signs of Healthy Colonization
Healthy mycelial growth appears as a white, cottony, or rope-like network spreading across and through the substrate. It should progressively thicken and cover the entire medium. A healthy smell is typically earthy or mushroomy.
Introducing Light, Humidity, and Fresh Air Exchange (FAE)
Once the substrate is fully colonized, you shift it to “fruiting conditions” to encourage mushroom formation.
- Light: While not a primary energy source, indirect light (ambient room light, not direct sunlight) often serves as a trigger for pinning and helps direct the growth of fruiting bodies.
- Humidity: High humidity, typically 85-95% relative humidity, is crucial for preventing the nascent mushrooms from drying out. This is often achieved in a fruiting chamber with a humidifier or by misting.
- Fresh Air Exchange (FAE): Mushrooms produce carbon dioxide and need fresh air to develop properly. Adequate FAE prevents CO2 buildup, which can lead to leggy, underdeveloped mushrooms. This is managed through ventilation or fanning.
Pinning and Development Stages
Under the right fruiting conditions, small knots of mycelium called primordia or “pins” will begin to form on the surface of the colonized substrate. These are the earliest stages of mushroom development. Over the next few days, these pins will rapidly grow into mature mushrooms.
Controlling Environmental Factors for Fruiting
Maintaining a stable environment during fruiting is key. This often involves:
- Temperature: Slightly lower than colonization temperatures for many species, promoting fruiting.
- Humidity: Consistent high humidity to prevent drying.
- Airflow: Regular fresh air exchange to remove CO2 and supply oxygen.
- Light: Sufficient ambient light to guide growth.
Automated systems or manual adjustments can be used to regulate these factors.
When to Harvest
Knowing when to harvest is crucial for optimal flavor, texture, and spore control. Generally, mushrooms are ready when their caps have fully opened, but before the gills begin to drop a significant amount of spores. For many species, the veil (a membrane connecting the cap to the stem) will just start to break, or will have just broken, revealing the gills.
Harvesting Techniques
The goal is to harvest without damaging the mycelial network in the substrate, allowing for future flushes.
- Twist and Pull: Gently twist the mushroom at its base until it detaches from the substrate. This is common for species like Oyster mushrooms.
- Cut with a Knife: For some species, or when growing in a block, it may be better to cut the mushroom stem cleanly at the base with a sterile knife or scalpel.
Handle mushrooms carefully to avoid bruising.
Multiple Flushes
Most mushroom substrates are capable of producing multiple “flushes” or waves of mushrooms after the initial harvest. After the first flush, it’s often beneficial to rehydrate the substrate by soaking or misting, and then return it to fruiting conditions. Subsequent flushes are usually smaller than the first but still provide a good yield.
Cleaning and Preparing for Storage
Once harvested, mushrooms often benefit from a quick clean. Avoid washing them under running water if you plan to store them, as they absorb moisture easily and can spoil faster. Instead, use a soft brush or a damp cloth to gently wipe away any substrate debris.
Storage Methods (e.g., Refrigeration, Drying)
Proper storage is essential to preserve the freshness and quality of your homegrown mushrooms.
- Refrigeration: Store fresh mushrooms in a paper bag or a breathable container in the refrigerator. Avoid airtight plastic bags, which can trap moisture and lead to spoilage.
- Drying: For longer-term preservation, mushrooms can be dried using a food dehydrator or an oven on a very low setting with the door ajar. Dried mushrooms can be stored in airtight containers for many months.
- Freezing: Mushrooms can be cooked before freezing, often sautéed or blanched, and then stored in freezer-safe bags or containers.
Preserving Your Harvest
Beyond simple refrigeration, drying and freezing are excellent ways to preserve excess mushrooms. Other methods include pickling or infusing them into oils, though these are less common for beginners. Preserving your harvest ensures you can enjoy your efforts for an extended period.
Successfully navigating the mushroom cultivation process step by step can be a rewarding experience, offering fresh, homegrown produce and a deeper connection to the natural world.
Cultivating your own mushrooms is a journey that combines scientific principles with practical gardening skills. From selecting the right species and preparing the perfect substrate to patiently nurturing mycelial growth and carefully harvesting your bountiful flushes, every step contributes to a successful outcome. The satisfaction of transforming spores into delicious, fresh fungi is unparalleled, offering not just a culinary treat but also a deeper understanding of the fungal kingdom. With the detailed guidance provided, you are now equipped to confidently embark on your own mushroom cultivation adventure, turning a simple curiosity into a sustainable and enjoyable hobby.
This article is written for general understanding and not for medical decision-making. The information provided is for educational purposes only and should not be used as a substitute for professional advice. Always consult with a qualified healthcare professional or mycologist for specific guidance related to mushroom consumption, health concerns, or cultivation practices, especially concerning edible or medicinal varieties. Individual results and experiences with cultivation may vary.
FAQ
What are the basic steps for growing mushrooms at home?
Growing mushrooms at home typically involves preparing a nutrient-rich substrate, inoculating it with mushroom spawn, allowing the mycelium to colonize the substrate in a controlled environment, and then providing specific conditions for fruiting. Once the mushrooms develop, they are harvested.
How long does it take to grow mushrooms from start to finish?
The total time for mushroom cultivation can vary significantly, often ranging from a few weeks to a couple of months. This duration depends on the specific mushroom species, the cultivation method, and the environmental conditions provided throughout the process.
What materials are needed for mushroom cultivation?
Essential materials include mushroom spawn (the starter culture), a suitable substrate like sawdust, grain, or straw, and containers or bags for incubation and fruiting. Sterilization equipment and tools for monitoring environmental conditions are also important.
How do you prepare the substrate for growing mushrooms?
Substrate preparation often involves hydrating the chosen material and then sterilizing or pasteurizing it to eliminate competing microorganisms. This process ensures that the mushroom mycelium has a clean food source to colonize effectively.
What is inoculation in mushroom growing?
Inoculation is the crucial step where mushroom spawn is introduced to the prepared substrate. This allows the mushroom’s vegetative growth, known as mycelium, to begin spreading and consuming the nutrients within the substrate.
How do you create the right environment for mushroom incubation?
Incubation requires a dark, consistently warm environment to encourage mycelial growth. Maintaining appropriate humidity levels and ensuring good air exchange are also key factors for successful colonization.
What conditions are needed for mushrooms to fruit?
Fruiting mushrooms typically requires a change in environmental conditions, often involving increased light exposure, cooler temperatures, and higher humidity. Fresh air exchange is also vital to stimulate the development of mushroom bodies.
How do you know when to harvest mushrooms?
Mushrooms are generally ready for harvest when their caps have reached their mature size and are starting to flatten or open. Observing the veil underneath the cap, if present, can also indicate maturity as it begins to tear.
What are common problems in mushroom cultivation and how to fix them?
Common issues include contamination by mold or bacteria, poor mycelial growth, and failure to fruit, which can often be addressed by improving sterilization techniques and optimizing environmental parameters. Careful monitoring of temperature, humidity, and air exchange is essential.