
Ready to Grow Mushrooms on Straw at Home?
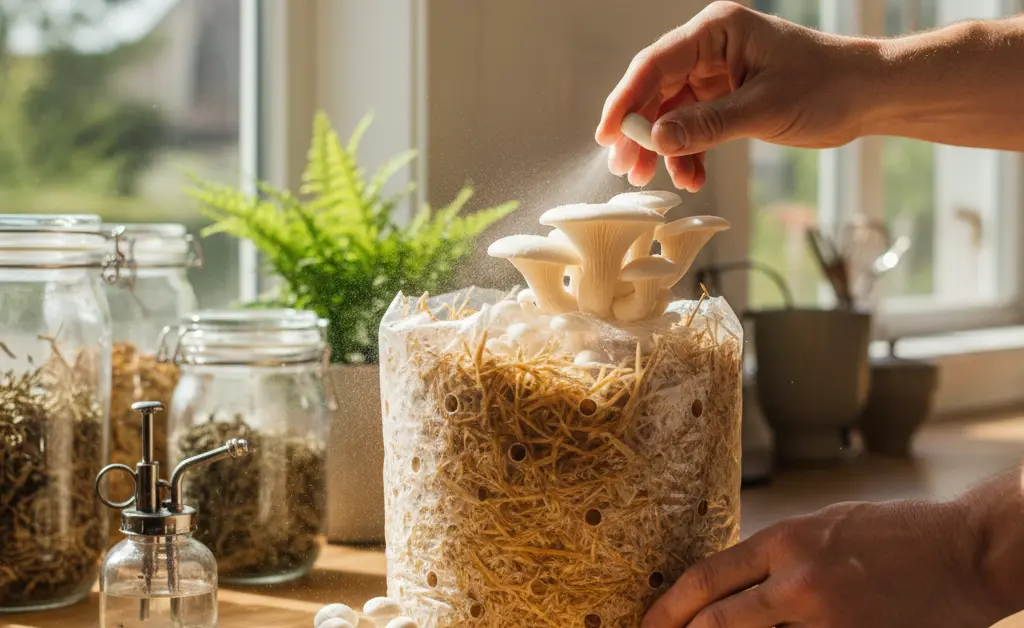
Developing the skill to grow your own fresh, edible mushrooms at home can be a highly rewarding endeavor, offering a sustainable and cost-effective approach to food production. By leveraging readily available agricultural waste products, enthusiasts can establish a productive fungi garden, contributing to a more circular economy. This method, specifically mushroom cultivation with straw, stands out for its simplicity and efficiency, making it an excellent choice for both beginners and experienced growers seeking a viable alternative to more complex substrates. This guide is designed to provide a comprehensive overview of the entire process, from understanding the foundational principles and preparing the substrate to successfully inducing fruiting and harvesting bountiful yields, empowering you to transform humble straw into delicious culinary delights.
Understanding Mushroom Cultivation with Straw
Mushroom cultivation with straw harnesses the natural ability of certain fungi to decompose cellulosic materials. Straw acts as an ideal substrate, offering a rich carbon source for mycelial growth, which is the vegetative part of the mushroom. This method is favored for its accessibility, affordability, and the potential for relatively rapid colonization and fruiting, making it a popular choice for home growers. Learn about various mushroom cultivation methods.
Benefits of Cultivating Mushrooms with Straw
Cultivating mushrooms using straw presents several distinct advantages. Firstly, straw is an abundant and often inexpensive agricultural byproduct, reducing input costs. Secondly, it is relatively easy to prepare compared to other substrates, requiring less complex sterilization processes. This simplicity makes it an attractive option for beginners looking to learn the basics of mushroom growing. Furthermore, the rapid colonization by mycelium in straw can lead to quicker harvest times for some mushroom species. It also offers an environmentally friendly approach by repurposing waste material.
What Type of Straw is Best for Mushroom Cultivation?
For successful mushroom cultivation with straw, the type of straw chosen plays a crucial role. Cereal straws, such as wheat, oat, rye, or barley straw, are generally preferred due to their high cellulose content and relatively low levels of nitrogen, which helps prevent unwanted mold growth. Rice straw is also a common and effective choice, particularly in regions where it is readily available. Avoid hay, which contains higher amounts of nitrogen and leaves, making it more prone to contamination. For those interested in specific grain types, explore mushroom cultivation on paddy straw.
Selecting Quality Straw
When selecting straw for mushroom cultivation, quality is paramount. Look for straw that is clean, bright, and free from any signs of mold, mildew, or rot. It should have a fresh, earthy smell, not a musty or sour odor. Avoiding straw that has been treated with herbicides or pesticides is also critical, as these chemicals can inhibit mycelial growth and potentially render the mushrooms unsafe for consumption. Sourcing straw from a reliable local farm or agricultural supplier can help ensure its suitability for your mushroom growing project.
Materials and Equipment for Mushroom Cultivation with Straw
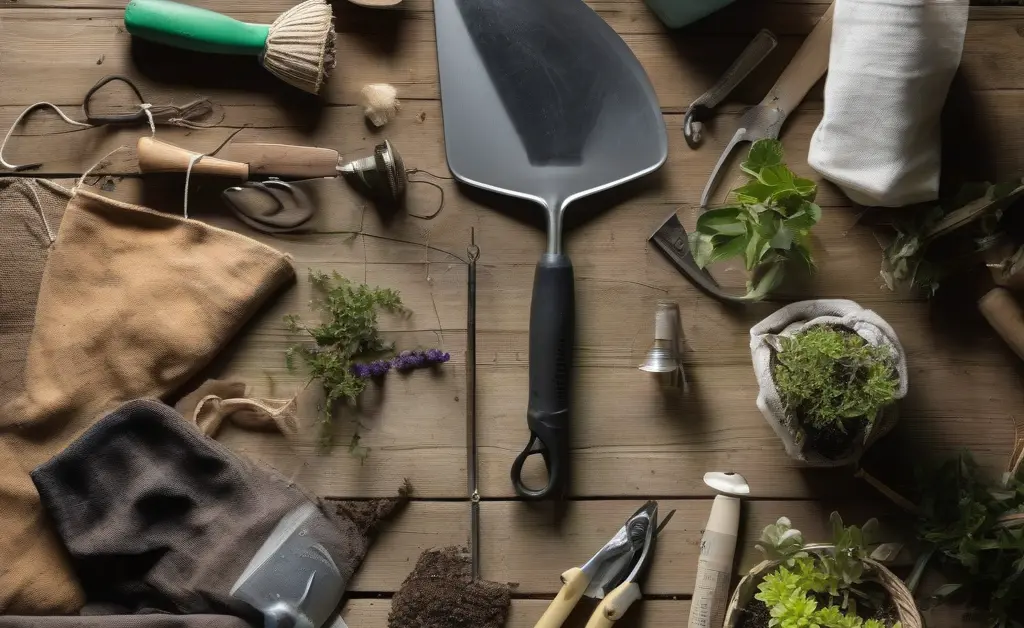
Embarking on mushroom cultivation with straw requires a specific set of materials and equipment to ensure a smooth and productive process. Having the right tools and setup from the start can significantly impact the success of your mushroom growing endeavors.
Containers or Beds for Cultivation
Various containers and setups can be used for mushroom cultivation on straw. For small-scale home growers, polypropylene filter patch bags, often referred to as mushroom bags, are popular because they are designed to withstand high temperatures and allow for gas exchange. Other options include five-gallon buckets with drilled holes, laundry baskets lined with netting, or even purpose-built grow beds. The choice often depends on the scale of your operation and the specific mushroom species you intend to grow. Ensure that whatever container you choose allows for proper drainage and aeration.
Tools for Cutting and Handling Straw
Preparing the straw substrate involves several manual tasks. You’ll need tools to cut the straw into smaller, manageable pieces, typically around 1 to 4 inches in length. This increases the surface area for mycelial colonization and makes packing the substrate easier. Sharp bypass pruners, a machete, or even a heavy-duty shredder can be used for this purpose. Gloves are essential for hygiene and to protect your hands during handling. A large heat-resistant container or barrel will also be necessary for the pasteurization or sterilization process.
Preparing the Straw Substrate for Mushroom Cultivation
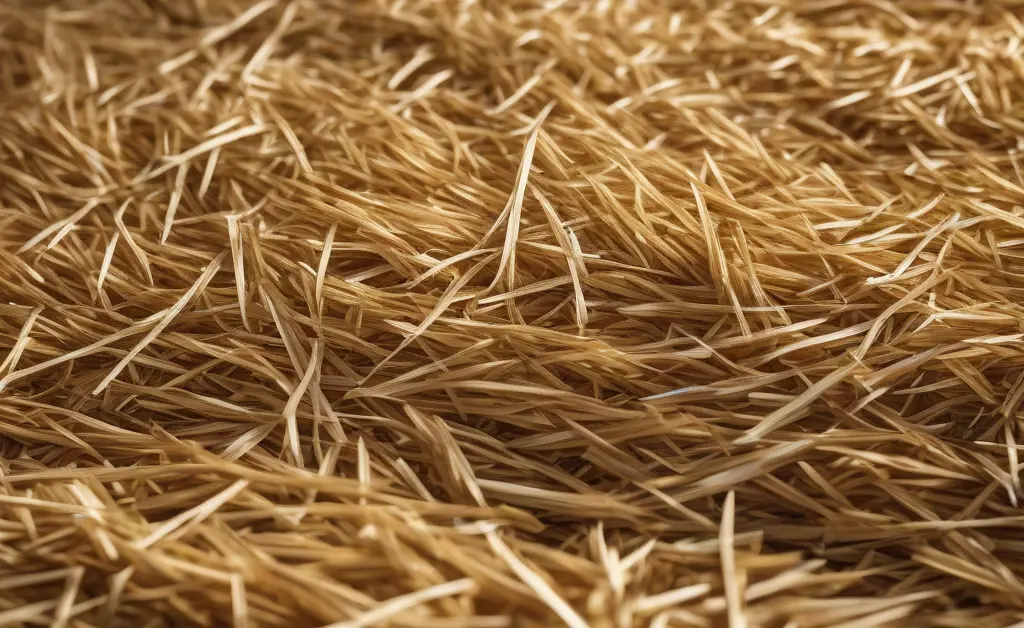
The preparation of the straw substrate is one of the most critical steps in successful mushroom cultivation with straw. Proper preparation helps create an ideal environment for the mushroom mycelium while minimizing the risk of contamination from competing organisms.
Cleaning and Soaking the Straw
Before any treatment, the straw should be physically cleaned to remove any large debris, dirt, or foreign matter. Once cleaned, the straw needs to be soaked to increase its moisture content. This is typically done by submerging the straw in clean water for several hours, often overnight. Soaking ensures the straw is fully hydrated, which is vital for mycelial growth and helps with the subsequent heat treatment by allowing for more even heat distribution.
Supplementation (Optional)
While straw alone can support mushroom growth, some growers choose to supplement their straw substrate to boost yields or accelerate colonization. Common supplements include wheat bran, soy hulls, or other nitrogen-rich organic materials. If supplementing, it’s generally added in small percentages to avoid increasing the risk of contamination. Any supplementation should be thoroughly mixed with the hydrated straw before pasteurization or sterilization.
Sterilization or Pasteurization Methods
To give the mushroom mycelium an advantage over competing fungi and bacteria, the straw substrate must undergo a heat treatment. Pasteurization, which involves heating the straw to temperatures typically between 60-80°C (140-175°F) for an extended period, is often preferred for mushroom cultivation with straw. This process eliminates most harmful contaminants while preserving some beneficial microorganisms. Sterilization, achieved through higher temperatures and pressures (e.g., in a pressure cooker), aims to kill all organisms but is more complex and less commonly used for straw due to its density. Various methods exist, such as the hot water bath method (submerging straw in hot water) or steam pasteurization.
Drying and Conditioning the Straw
After pasteurization, the straw must be cooled and conditioned to the appropriate moisture level before inoculation. The straw should be moist but not dripping wet; a good test is to squeeze a handful – only a few drops of water should come out. Excess moisture can lead to anaerobic conditions and bacterial contamination, while too little moisture will hinder mycelial growth. Spreading the straw out on a clean surface to cool and drain can help achieve the optimal moisture content.
Steps of Mushroom Cultivation with Straw
Once the straw substrate is prepared, the actual process of introducing mushroom life begins. These steps are crucial for establishing a healthy fungal colony that will eventually produce edible mushrooms. Successful mushroom cultivation with straw relies heavily on careful execution during these stages.
Choosing Mushroom Spawn
The success of your mushroom cultivation project largely depends on selecting the right mushroom spawn. Spawn is essentially a substrate (often grain or sawdust) colonized by mushroom mycelium, acting as the “seed” for your crop. For straw cultivation, oyster mushroom spawn (Pleurotus species), or certain types of ‘straw mushrooms’ (Volvariella volvacea) are excellent choices as they readily colonize straw. Ensure you purchase fresh, vigorous spawn from a reputable supplier, appropriate for your chosen substrate and growing conditions. Some growers may also be interested in mushroom cultivation with sawdust.
Methods of Inoculation (e.g., layering, mixing)
Inoculation is the process of introducing the mushroom spawn to the prepared straw substrate. There are a few common methods. The “layering” technique involves placing alternating layers of straw and spawn in your chosen container. The “mixing” method involves thoroughly mixing the spawn directly into the straw. Both aim to distribute the spawn evenly throughout the substrate to encourage rapid and complete colonization. Cleanliness is paramount during inoculation to prevent contamination.
Incubation Conditions (Temperature, Humidity)
After inoculation, the substrate needs an incubation period where the mycelium can colonize the straw. During this “spawn run,” specific environmental conditions are required. The ideal temperature range varies by species but is generally consistent and warm. Humidity should be maintained at a moderate level, and the environment should be dark or dimly lit. Proper airflow is also important to prevent the buildup of metabolic gases that can inhibit mycelial growth. Monitoring these conditions closely will encourage strong mycelial development.
Monitoring Mycelial Growth
Throughout the incubation period, it’s essential to monitor the progress of mycelial growth. You should observe the mycelium spreading from the spawn outwards, gradually colonizing the entire straw substrate. It will appear as a white, fuzzy, or rope-like network. Any signs of green, black, or unusual colors may indicate contamination, which requires immediate attention to prevent it from spreading. A fully colonized substrate will be entirely covered in white mycelium, often appearing dense and solid.
Fruiting and Harvesting Straw Mushrooms
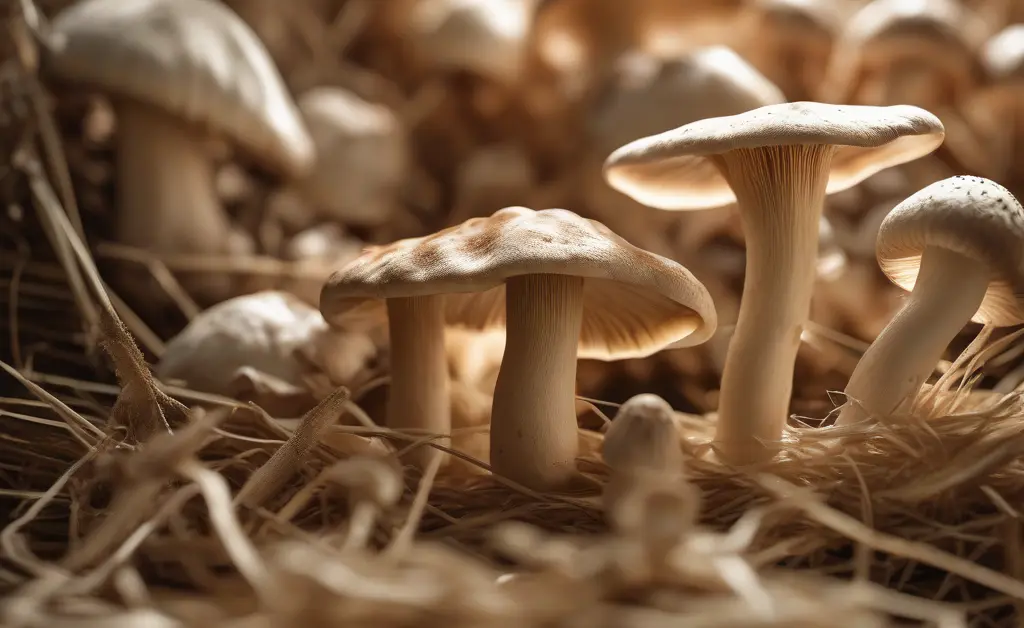
After successful colonization, the most exciting phase of mushroom cultivation with straw begins: fruiting and harvesting. This is where your careful preparation and patience are rewarded with fresh, edible mushrooms.
Inducing Fruiting
Once the straw substrate is fully colonized by the mycelium, it’s time to “induce fruiting.” This involves signaling to the mycelium that conditions are right for producing mushrooms (fruiting bodies). For many species, this means a change in environmental conditions, often involving a drop in temperature, increased fresh air exchange, and an increase in humidity. Some growers may also introduce a brief period of light exposure to trigger pinning, which are the tiny primordial mushrooms. This shift simulates the natural environmental cues that mushrooms experience in their outdoor habitats. Consider the benefits of outdoor mushroom cultivation for natural fruiting triggers.
Environmental Controls for Fruiting (Light, Humidity, Temperature)
Maintaining specific environmental controls is crucial during the fruiting phase. Light, while not a direct energy source for mushrooms (they are not photosynthetic), acts as a developmental cue. Indirect ambient light is usually sufficient. High humidity, often above 85-90%, is critical to prevent the young mushrooms from drying out. This can be achieved with humidifiers, misting, or creating a humidity tent. Consistent temperatures, typically slightly cooler than incubation temperatures, are also important and specific to the mushroom species being grown. Excellent fresh air exchange is necessary to remove CO2 produced by the mycelium and introduce fresh oxygen, which is vital for proper mushroom development.
Recognizing Mature Mushrooms
Recognizing when mushrooms are mature and ready for harvest is key to maximizing quality and yield. For many common species like oyster mushrooms, they are typically ready when their caps have flattened out or the edges begin to curl slightly upwards, but before they release large amounts of spores. Spore release can sometimes indicate that the mushroom is past its prime for eating and can also create a mess. Learning the specific characteristics of your chosen species will help you identify the optimal harvest window.
Harvesting Techniques
Proper harvesting techniques are important to ensure a good yield and to encourage subsequent flushes of mushrooms. Typically, mushrooms are harvested by gently twisting them off the substrate at their base, or by carefully cutting the cluster at the base with a clean, sharp knife. Avoid pulling or tearing the mushrooms, as this can damage the mycelium and negatively impact future growth. Prompt harvesting of mature mushrooms also helps redirect the mycelium’s energy towards producing the next flush.
Troubleshooting Common Issues in Mushroom Cultivation with Straw
Even with careful planning and execution, issues can arise in mushroom cultivation with straw. Understanding common problems and how to address them can save your crop and ensure a more consistent yield.
One of the most frequent challenges encountered is contamination. This often manifests as green, black, or orange molds growing on the straw substrate, distinct from the white mycelium. Contamination usually occurs due to insufficient pasteurization, unhygienic inoculation practices, or poor air filtration. If detected early and isolated, a small contaminated area might be removed, but often, heavily contaminated substrate must be discarded to prevent spores from spreading to other grows. For general health information related to fungi, consult the World Health Organization.
Another common issue is poor yields or a complete lack of fruiting. This can often be attributed to improper environmental conditions during incubation or fruiting. Insufficient fresh air exchange, especially during fruiting, leads to CO2 buildup and leggy, malformed mushrooms. Inadequate humidity can cause pins to dry out and abort, while incorrect temperatures can inhibit both colonization and fruiting. Pest management, dealing with insects like fungus gnats, also requires attention, often through improved hygiene and physical barriers.
Environmental fluctuations, particularly in temperature and humidity, can stress the mycelium and lead to inconsistent growth. Maintaining stable conditions throughout the entire growth cycle is crucial. If growth seems slow or stagnant, revisiting your initial substrate preparation and inoculation steps might be necessary. Ensuring the straw was adequately hydrated and treated, and that the spawn was healthy, can prevent many problems down the line. Continuous learning and observation are key to mastering the nuances of mushroom cultivation with straw.
Mastering mushroom cultivation with straw offers a deeply satisfying experience, transforming simple agricultural waste into a bountiful harvest. By following the detailed steps from substrate preparation to fruiting and applying careful observation, home growers can successfully grow their own delicious fungi. This method not only provides fresh produce but also connects enthusiasts with sustainable food practices, proving that with a little knowledge and effort, anyone can become a successful mushroom cultivator.
Readers should understand that this article does not offer medical diagnosis or treatment. The information provided is intended for educational purposes only and should not be considered as a substitute for professional medical advice. Always consult with a qualified healthcare provider for any health concerns or before making any decisions related to your health or treatment. The content here is not meant to prescribe, diagnose, or treat any medical condition.
FAQ
What kind of straw is best for mushroom cultivation?
Wheat, oat, and rice straw are widely favored for their ideal cellulose and hemicellulose content, which mushrooms readily break down as a food source. These cereal straws also have a good physical structure that allows for proper aeration and moisture retention within the substrate, creating an optimal environment for mycelial colonization. The effectiveness of these materials is why they are frequently chosen for successful mushroom cultivation with straw.
How do you prepare straw for mushroom growing?
Straw for mushroom growing is typically pasteurized to reduce the load of competing microorganisms without sterilizing it completely. This involves soaking the chopped straw in hot water, usually between 140-180°F (60-82°C), for an hour or more, then draining it thoroughly. This process creates a selective environment that favors the mushroom mycelium over common molds and bacteria.
What temperature is ideal for straw mushroom cultivation?
The ideal temperature for mushroom cultivation on straw varies significantly depending on the specific mushroom species being grown and its life cycle stage. During the initial colonization phase, called the spawn run, mycelium generally thrives in warmer temperatures, often between 70-80°F (21-27°C). However, for successful fruiting body development, many common gourmet mushrooms prefer cooler temperatures, typically ranging from 55-70°F (13-21°C), alongside higher humidity.
How long does it take to grow mushrooms on straw?
The time it takes for mushrooms to grow on a straw substrate can vary greatly, primarily depending on the species and environmental conditions like temperature and humidity. Generally, after inoculation, the mycelium may take anywhere from two to four weeks to fully colonize the straw. Following colonization, the first flush of mushrooms typically emerges within another one to two weeks.