
The Essential Guide to Growing Oyster Mushrooms
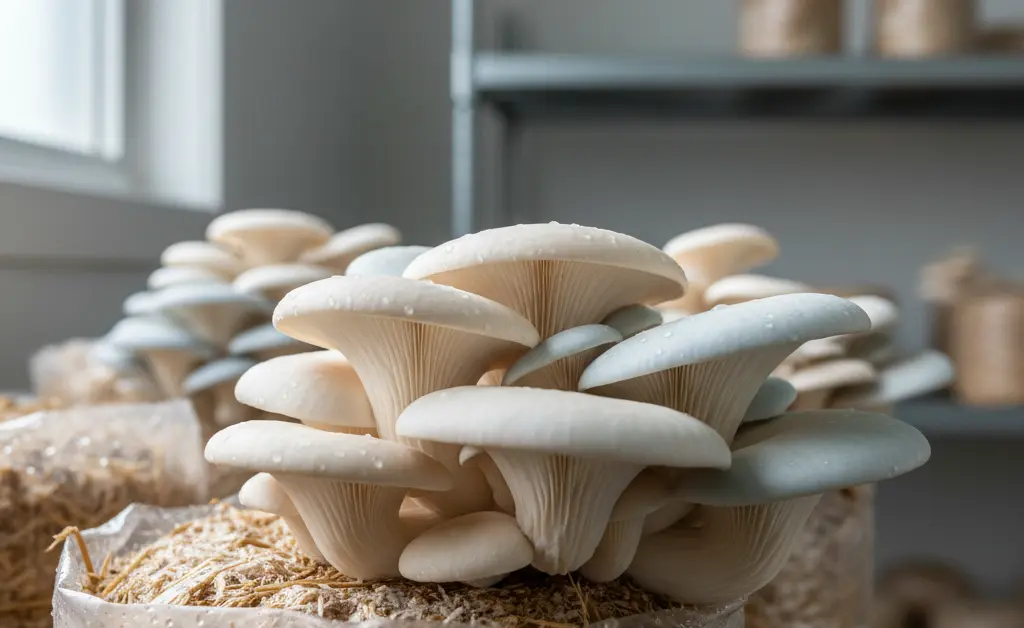
Embarking on the journey of oyster mushroom cultivation opens up a world of culinary and potentially profitable possibilities. As someone with hands-on experience in bringing these versatile fungi to fruition, I understand the nuances required for a successful harvest. This comprehensive guide is designed to demystify the process, offering clear, actionable steps from selecting the right variety to preparing optimal substrates and managing ideal fruiting conditions. We’ll explore inoculation techniques, troubleshoot common issues, and cover essential harvesting and storage practices. Whether you’re a home enthusiast or looking to scale up, mastering these techniques will empower you to consistently grow delicious oyster mushrooms with confidence and ease, transforming basic materials into gourmet ingredients.
Choosing Your Oyster Mushroom Variety
The first step in successful mushroom cultivation begins with selecting the right variety. Oyster mushrooms encompass a diverse group of species, each with unique characteristics regarding appearance, flavor, growing requirements, and adaptability. Your choice will significantly influence the ease of cultivation and the final culinary product, making it a critical decision for any aspiring grower.
Common Oyster Mushroom Species (e.g., Pearl, Blue, Pink, Yellow)
- Pearl Oyster (Pleurotus ostreatus): Perhaps the most common and widely cultivated variety. Pearl oysters are known for their fast growth, resilience, and excellent yields. They typically grow in clusters with brownish-gray caps and offer a mild, earthy flavor. They are adaptable to various substrates and temperature ranges.
- Blue Oyster (Pleurotus ostreatus var. columbinus): A popular choice for their striking blue-gray caps, especially when young. Blue oysters prefer cooler temperatures for fruiting and are prized for their firm texture and slightly stronger, more complex flavor compared to Pearl oysters.
- Pink Oyster (Pleurotus djamor): These vibrant pink mushrooms are visually stunning and have a delicate, slightly seafood-like flavor. They thrive in warmer temperatures and grow very quickly, making them an exciting, albeit short-lived, addition to any grow space. Their delicate nature means they have a shorter shelf life.
- Yellow Oyster (Pleurotus citrinopileatus): With bright yellow caps, these mushrooms add a cheerful aesthetic and a nutty, slightly citrusy flavor to dishes. Like Pink oysters, they prefer warmer conditions and grow rapidly, producing beautiful, dense clusters.
Factors to Consider When Selecting a Variety
When embarking on oyster mushroom cultivation, several factors should guide your selection of a specific variety:
- Climate Compatibility: Different oyster mushroom species have preferred temperature ranges for both mycelial colonization (spawn run) and fruiting. Consider your ambient growing conditions or what you can realistically maintain. For instance, Pink and Yellow oysters prefer warmer climates, while Blue oysters thrive in cooler settings.
- Growth Speed and Yield: Some varieties colonize substrate and fruit more quickly than others. If you’re looking for quick results, varieties like Pearl and Pink oysters are excellent choices. Others may offer larger individual mushrooms or more flushes over time.
- Flavor Profile and Culinary Use: Each variety offers a subtly different flavor and texture. Pearl oysters are mild and versatile, Blue oysters are firmer and more savory, Pink oysters are delicate and slightly seafood-like, and Yellow oysters have a nutty, citrusy note. Consider what culinary applications you intend for your harvest.
- Ease of Cultivation: For beginners in oyster mushroom cultivation, resilient and forgiving varieties like the Pearl oyster are often recommended due to their adaptability and tolerance to a wider range of conditions.
Substrate Preparation for Oyster Mushrooms
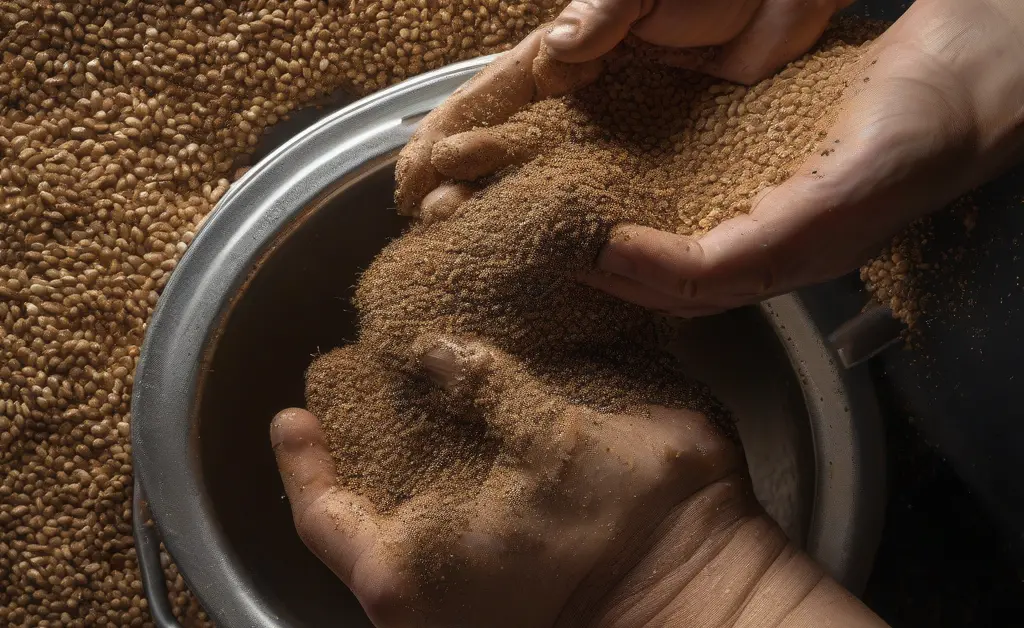
The substrate serves as the food source for the mushroom mycelium, and its proper preparation is paramount to successful oyster mushroom cultivation. A well-prepared substrate provides the necessary nutrients, moisture, and aeration for healthy growth while minimizing opportunities for competitor organisms.
Common Substrate Options (e.g., straw, sawdust, coffee grounds)
A variety of lignocellulosic materials can be used as substrate for oyster mushrooms, each with its own advantages and considerations:
- Straw: Wheat, oat, or rice straw is a very popular choice due to its availability, affordability, and excellent yields. It’s relatively easy to prepare, often requiring only pasteurization.
- Sawdust: Hardwood sawdust (from oak, maple, beech, etc.) is another common option, particularly when supplemented with bran or other nitrogen sources. It tends to produce denser, meatier mushrooms but requires more thorough sterilization.
- Coffee Grounds: Spent coffee grounds are a highly nutritious substrate, ideal for small-scale home growers or urban farming projects due to their nitrogen content. However, they carry a higher risk of contamination if not used fresh and handled promptly.
- Other Options: Cottonseed hulls, sugarcane bagasse, cardboard, and even shredded paper can also be successfully used, often in combination with other materials to optimize nutritional content and structure.
Sterilization vs. Pasteurization Techniques
To ensure the mushroom mycelium has the best chance to colonize the substrate without competition from molds or bacteria, the substrate must be treated:
- Pasteurization: This process reduces the number of competing microorganisms to a manageable level, allowing beneficial thermophilic bacteria to survive and aid in colonization. It typically involves heating the substrate in hot water (around 160-180°F or 71-82°C) for a specific duration or using steam at atmospheric pressure. Straw is commonly pasteurized.
- Sterilization: This more aggressive method aims to eliminate virtually all living organisms, including bacteria and mold spores, using high heat and pressure, typically in a pressure cooker or autoclave. This is often necessary for nutrient-rich substrates like supplemented sawdust or grains, as these are more prone to contamination.
Substrate Moisture Content
The ideal moisture content of the substrate is crucial for vigorous mycelial growth and subsequent fruiting. The substrate should be moist but not waterlogged, resembling a squeezed sponge. A common test is the “field capacity” test: if you squeeze a handful of substrate firmly, only a few drops of water should emerge. Too much water can lead to anaerobic conditions, inhibiting mycelial growth and promoting bacterial contamination. Too little moisture will slow or prevent colonization.
Inoculation and Spawn Types
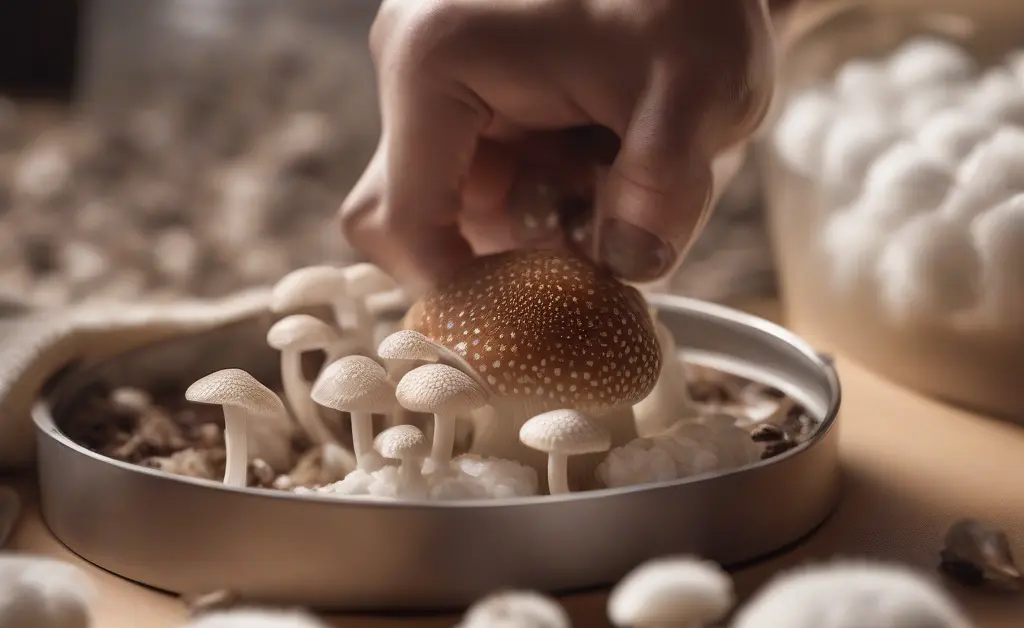
Inoculation is the process of introducing mushroom spawn (mycelium grown on a carrier) into the prepared substrate. This is a critical step in oyster mushroom cultivation, as it initiates the growth cycle and sets the stage for colonization.
Types of Spawn (grain, sawdust, plug)
- Grain Spawn: This is the most common type of spawn used for inoculating bulk substrates. It consists of mycelium grown on sterilized grains (like rye, millet, or wheat). Grain spawn offers numerous points of inoculation, leading to fast and vigorous colonization due to its high nutritional value.
- Sawdust Spawn: Mycelium grown on sterilized sawdust, often supplemented with bran. Sawdust spawn is typically used for inoculating supplemented sawdust blocks or logs. It’s more durable and less prone to bacterial contamination than grain spawn when used in certain applications.
- Plug Spawn: Mycelium colonized hardwood dowels or “plugs.” Plug spawn is specifically designed for inoculating logs for outdoor mushroom cultivation. It’s a slower method but results in a more resilient and natural growth cycle over several years.
How to Inoculate Substrate
The inoculation process involves thoroughly mixing the mushroom spawn with the prepared, cooled substrate. The goal is to distribute the spawn evenly to ensure rapid colonization and minimize opportunities for contaminants. It’s crucial to perform this step in a clean, aseptic environment to prevent airborne spores from settling on the exposed substrate. Common methods include layering the spawn with substrate in bags or containers, or directly mixing it in a sterile tub before packing. The spawn rate, or the amount of spawn used per unit of substrate, can influence colonization speed and yield, with higher rates generally leading to faster colonization and reduced contamination risk.
Spawn Run and Incubation
After inoculation, the substrate enters the “spawn run” or incubation phase. During this period, the mycelium grows out from the spawn and colonizes the entire substrate. The ideal conditions for spawn run typically involve:
- Temperature: A consistent temperature range, specific to the oyster mushroom variety, often slightly warmer than fruiting temperatures, is maintained.
- Darkness: Mycelial growth generally proceeds best in darkness or very low light.
- Humidity: While the substrate itself is moist, the ambient humidity of the incubation area is less critical than during fruiting.
- Air Exchange: Some minimal air exchange is beneficial, but excessive FAE during this stage can dry out the substrate.
The spawn run is complete when the substrate is fully permeated with white, healthy mycelium. This can take anywhere from a week to several weeks, depending on the variety, spawn rate, and substrate type. This successful colonization is a key indicator of effective oyster mushroom cultivation.
Oyster mushroom cultivation
Transitioning from the spawn run to the fruiting phase is a pivotal moment in the overall oyster mushroom cultivation process. Once the mycelium has fully colonized the substrate, it requires specific environmental triggers to initiate pinning (the formation of tiny mushroom primordia) and subsequent growth into mature mushrooms. This phase demands careful management of environmental factors to ensure healthy development and bountiful harvests.
Growers introduce changes in temperature, humidity, light, and crucially, fresh air exchange, to signal to the mycelium that conditions are right for reproduction. Maintaining these parameters consistently and within the optimal range for the specific oyster mushroom variety being cultivated is essential for maximizing yields and preventing common issues like leggy stems or stunted growth. This careful orchestration of environmental conditions is what distinguishes successful oyster mushroom cultivation from merely allowing mycelium to grow.
Fruiting Conditions for Oyster Mushrooms
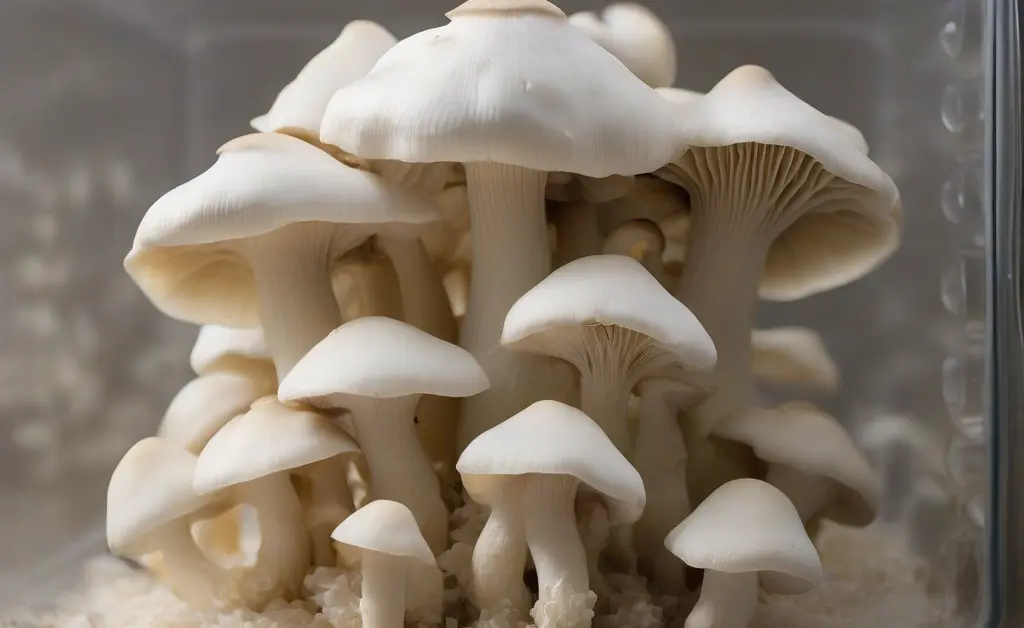
Once the substrate is fully colonized, changing the environmental conditions to mimic the natural triggers for mushroom growth is essential. This fruiting phase requires a careful balance of temperature, humidity, air exchange, and light to encourage the mycelium to produce mushrooms.
Temperature Requirements for Fruiting
Temperature is a primary trigger for fruiting. Most oyster mushroom varieties benefit from a “cold shock” – a temporary drop in temperature after full colonization – to stimulate pinning. Following this, a consistent fruiting temperature, which varies by species, must be maintained. For example, Blue oysters prefer cooler temperatures (around 50-65°F or 10-18°C), while Pink and Yellow oysters thrive in warmer conditions (70-85°F or 21-29°C). Maintaining the correct temperature ensures optimal growth rate and mushroom quality.
Humidity and Air Exchange (Fruiting Conditions)
High humidity and consistent fresh air exchange (FAE) are perhaps the most critical factors during the fruiting phase:
- Humidity: Oyster mushrooms require very high humidity, typically 85-95%, to prevent the delicate pinheads from drying out and to encourage proper cap expansion. Insufficient humidity can lead to small, cracked, or aborted mushrooms.
- Air Exchange: Mushrooms respire, converting oxygen to carbon dioxide. High levels of CO2 inhibit proper mushroom formation, leading to long, leggy stems and small caps. Frequent air exchange is vital to remove CO2 and supply fresh oxygen. This is often achieved through passive ventilation in smaller setups or active fans and exhaust systems in larger fruiting chambers.
Light Exposure
While not a primary growth factor like temperature or humidity, light plays a role in guiding the direction of growth and influencing cap coloration. Oyster mushrooms do not require direct sunlight but benefit from indirect, ambient light for about 8-12 hours a day. Too little light can result in pale or deformed mushrooms, while excessive direct light can lead to drying.
Fruiting Chamber Setup
To maintain these precise conditions, growers often utilize a fruiting chamber. For home growers, options range from simple humidity tents or “shotgun fruiting chambers” (a plastic tub with holes and a moist perlite base) to more sophisticated automated setups. Commercial operations use dedicated grow rooms with controlled climate systems including humidifiers, fans, and ventilation to regulate temperature, humidity, and FAE effectively. The design of the fruiting chamber directly impacts the success of oyster mushroom cultivation.
Harvesting and Storing Oyster Mushrooms
Knowing when and how to harvest your oyster mushrooms, as well as proper storage techniques, is crucial for enjoying their peak flavor, texture, and extending their shelf life.
When to Harvest
The ideal time to harvest oyster mushrooms is just as their caps begin to flatten out but before they start to curl upwards or release a significant amount of spores. You’ll often see a slight “ruffling” at the edges, which indicates maturity. If harvested too early, they may not reach their full size; if too late, they can become tough, release copious spores (creating a mess), and have a reduced shelf life. For most varieties, harvesting a cluster when the largest mushrooms are about 2-4 inches in diameter is a good general guideline.
Harvesting Techniques
To harvest, gently grasp the entire cluster of mushrooms at its base, where it attaches to the substrate, and twist it off cleanly. Alternatively, you can use a sharp, clean knife to cut the cluster at the base. Aim to remove the entire cluster to encourage a cleaner growth for subsequent flushes. Avoid leaving behind stubs or pieces of mushroom tissue, as these can become breeding grounds for contamination.
Storage Methods (refrigeration, drying)
Proper storage is essential to maintain the quality of your freshly harvested oyster mushrooms:
- Refrigeration: For short-term storage (up to a week), place mushrooms in a paper bag in the refrigerator. Paper bags allow the mushrooms to breathe and prevent moisture buildup, which can lead to sliminess. Avoid storing them in plastic bags, as this traps moisture.
- Drying: For long-term preservation, dehydrating oyster mushrooms is an excellent option. Use a food dehydrator at a low temperature (around 100-120°F or 38-49°C) until they are brittle. Once dried, store them in airtight containers away from light and moisture. They can be rehydrated later for cooking.
- Freezing: Mushrooms can also be cooked first (sautéed or blanched) and then frozen in airtight containers or freezer bags for several months. Freezing raw mushrooms is not recommended as it can negatively impact their texture.
Troubleshooting Common Oyster Mushroom Cultivation Issues
Even with careful planning, growers may encounter challenges during oyster mushroom cultivation. Understanding common issues and how to address them is key to successful and consistent yields.
Contamination Identification and Prevention
Contamination is one of the most frustrating problems in mushroom growing. It occurs when unwanted microorganisms (molds, bacteria, yeast) outcompete the mushroom mycelium for resources. Scientific research on fungal and bacterial contaminants can be explored on PubMed.
- Identification: Common contaminants appear as green, black, or red molds; slimy patches; or sour smells. Green mold (Trichoderma) is particularly prevalent.
- Prevention: The best defense is a clean offense. This includes meticulous hygiene during substrate preparation and inoculation, proper pasteurization or sterilization of substrate, using high-quality, clean spawn, and maintaining a clean growing environment. Isolating contaminated blocks immediately is crucial to prevent spread.
Poor Yields
If your oyster mushroom cultivation efforts result in low yields, several factors might be at play:
- Suboptimal Fruiting Conditions: The most common cause. Incorrect humidity, insufficient fresh air exchange (FAE), or temperatures outside the ideal range for your specific oyster variety can all limit mushroom production.
- Poor Spawn Quality: Weak, old, or contaminated spawn will not colonize effectively or produce strong flushes.
- Substrate Issues: Incorrect moisture content (too wet or too dry), improper sterilization/pasteurization leading to hidden competitors, or insufficient nutrition in the substrate can all reduce yields.
- Harvesting Practices: Leaving old stubs or not harvesting full clusters can sometimes impede subsequent flushes.
Abnormal Growth Patterns
Mushrooms may sometimes exhibit unusual shapes or textures, indicating environmental stress:
- Leggy Stems, Small Caps: This is a classic sign of insufficient fresh air exchange (FAE) and high CO2 levels. The mushrooms are “reaching” for oxygen. Increase ventilation in your fruiting chamber.
- Dry, Cracked Caps: Indicates low humidity during the fruiting phase. Increase misting or humidification.
- Blobs or Coral-like Growth: Can be caused by a combination of factors, including extreme temperature fluctuations, overly high humidity without enough FAE, or insufficient light. Some specific strains may also exhibit this growth more readily under certain conditions.
Regular monitoring of your growing environment and prompt adjustment of conditions are vital for troubleshooting these issues and promoting healthy oyster mushroom development.
Mastering oyster mushroom cultivation is a rewarding endeavor that combines scientific understanding with practical skill. From carefully selecting the right variety to meticulously preparing the substrate, inoculating with quality spawn, and diligently managing fruiting conditions, each step contributes to a successful harvest. While challenges like contamination or abnormal growth may arise, armed with the knowledge of troubleshooting techniques, growers can navigate these hurdles effectively. The journey of growing your own oyster mushrooms, whether for culinary delight or commercial ventures, offers a tangible connection to the natural world and the satisfaction of cultivating delicious, fresh fungi.
It is important to note that this content is not intended as medical advice. The information provided is for educational and general informational purposes only, pertaining to the cultivation of oyster mushrooms. It should not be considered a substitute for professional medical guidance, diagnosis, or treatment for any health conditions. Always consult with a qualified healthcare professional regarding any health concerns or before making any decisions related to your health or well-being.
FAQ
What is the best substrate for oyster mushroom cultivation?
The best substrate for oyster mushroom cultivation depends on the specific species and desired scale. Many common substrates like pasteurized straw, sawdust, or agricultural byproducts are effective because they provide the necessary nutrients and structure for the mycelium to colonize and produce mushrooms. These materials are often readily available and can be prepared to minimize contamination.
How long does it take to grow oyster mushrooms?
The time it takes to grow oyster mushrooms can vary, generally ranging from a few weeks to a couple of months. This timeframe encompasses the colonization phase, where the mycelium spreads through the substrate, and the subsequent fruiting stage when mushrooms emerge. Environmental factors such as temperature and humidity significantly influence the overall growth cycle.
What are the ideal conditions for fruiting oyster mushrooms?
Ideal conditions for fruiting oyster mushrooms typically involve a drop in CO2 levels and an increase in humidity, often accompanied by a slight temperature shift. Maintaining high humidity, good air exchange, and indirect light stimulates the colonized substrate to produce mushrooms. Consistent conditions are key to achieving a good harvest.