
A Practical Guide to Button Mushroom Cultivation
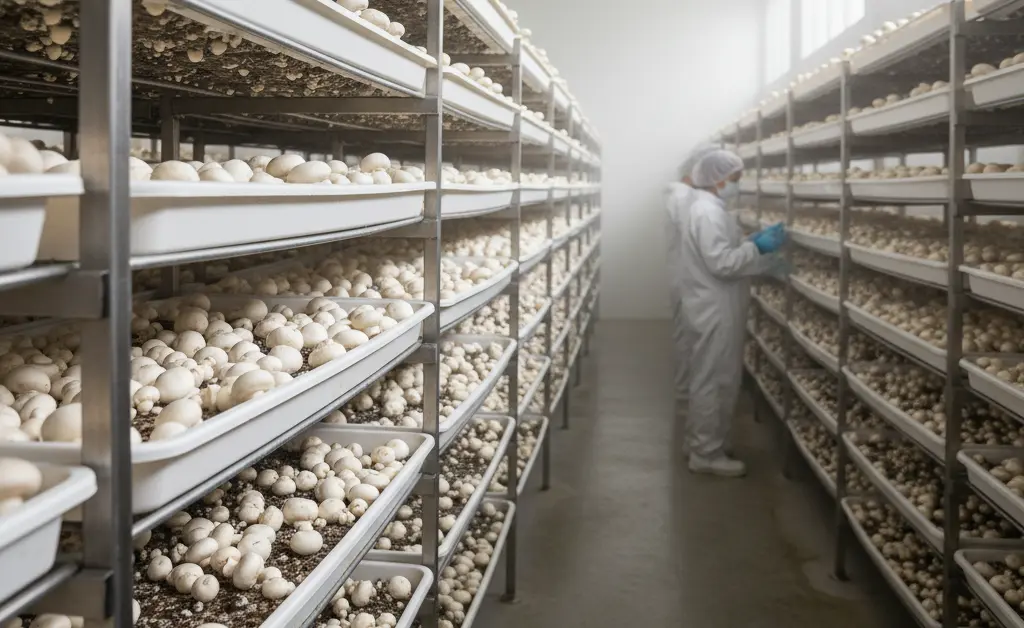
As culinary habits evolve, there’s a noticeable shift towards incorporating more fresh, plant-based ingredients and a growing curiosity about food sourcing and self-sufficiency. This trend extends to the cultivation of versatile staples like button mushrooms, which are celebrated for their nutritional value and earthy flavor in countless dishes. For enthusiasts looking to deepen their connection to their food or explore a unique horticultural challenge, understanding the entire button mushroom farming process has become an increasingly popular pursuit. This comprehensive guide aims to demystify each stage, from the initial substrate preparation and spawning to the careful harvesting of the mature fungi. By following these detailed steps, aspiring cultivators can successfully navigate the journey of growing their own high-quality button mushrooms.
Button mushroom farming process
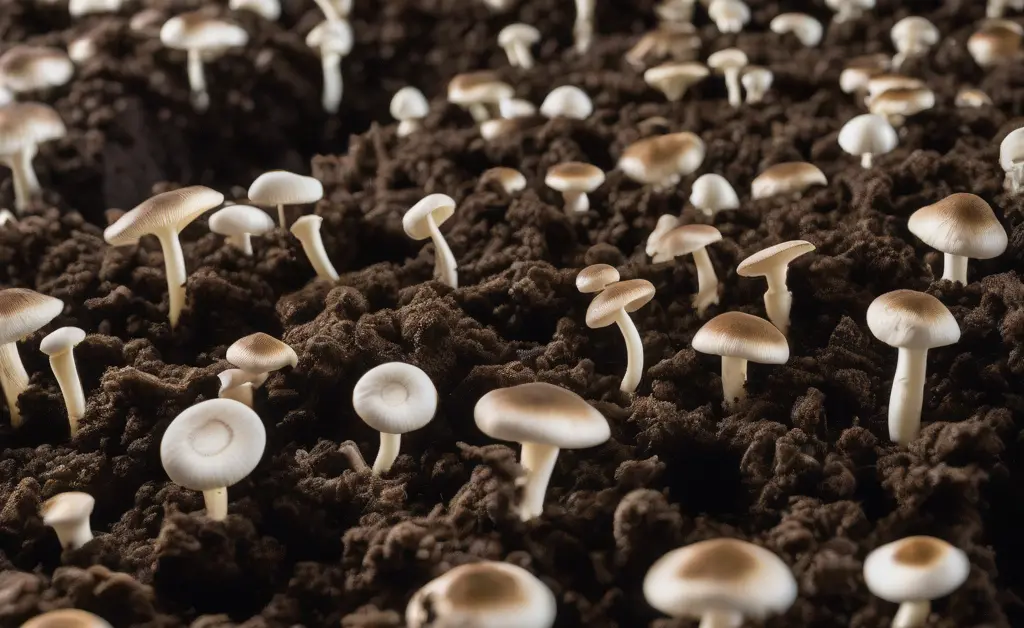
Understanding the fundamental stages of the button mushroom farming process is crucial for successful cultivation. From preparing the growth medium to harvesting the final product, each step requires careful attention to detail and specific environmental conditions to encourage optimal mushroom development. This section outlines the core components involved in bringing button mushrooms from concept to table. For a comprehensive overview of button mushroom cultivation, refer to this button mushroom farming guide.
Button mushroom farming process for beginners
Embarking on the journey of button mushroom cultivation can be a rewarding experience, especially for those new to mycology. For beginners, it is essential to start with a clear understanding of the sequential nature of the process. While it may seem complex at first, breaking down the button mushroom farming process into manageable steps makes it approachable. Patience and a willingness to observe are key, as mushroom growth depends heavily on maintaining specific environmental parameters, including temperature, humidity, and ventilation. Starting small with readily available resources can help build confidence and expertise before scaling up operations.
Compost Preparation and Pasteurization
The foundation of successful button mushroom cultivation lies in meticulously prepared compost. This specialized growing medium provides the necessary nutrients for the mycelium to thrive. Typically, compost is created from a blend of organic materials such as wheat straw, horse manure, gypsum, and various nitrogen supplements. These ingredients are combined and allowed to undergo a controlled fermentation process, often in two phases. The first phase, known as outdoor composting, involves several turnings to ensure even decomposition and aeration. Following this, the compost moves to the second phase, pasteurization. This critical step involves heating the compost to a specific temperature for a set period to eliminate harmful pests, competing fungi, and bacteria, while preserving beneficial microorganisms. Pasteurization also conditions the compost, making it selectively favorable for mushroom mycelium growth. After pasteurization, the compost is cooled down, making it ready for inoculation. Learn more about detailed button mushroom compost preparation methods.
Spawning: Inoculating the Compost with Spawn
Spawning is the process of introducing mushroom spawn into the prepared and pasteurized compost. Mushroom spawn consists of grains (like rye or millet) that have been sterilized and then colonized by the desired strain of button mushroom mycelium. This living culture acts as the “seed” for the mushroom crop. During spawning, the spawn is carefully mixed into the compost, ensuring even distribution. The goal is to provide the mycelium with direct access to the nutrient-rich compost, allowing it to rapidly colonize the entire substrate. The quality of the spawn, including its vigor and purity, plays a significant role in the overall success and yield of the crop. Proper sanitation during this stage is paramount to prevent contamination from competing organisms.
Casing: Applying the Casing Layer
After the compost has been fully colonized by the mushroom mycelium, a casing layer is applied. This layer, typically a mixture of peat moss and limestone (or chalk), does not provide nutrients but serves several vital functions. It acts as a water reservoir, maintaining high humidity around the developing pins, which is crucial for their formation. The casing also provides a microclimate for the mycelium to initiate fruiting and protects the compost from drying out. Furthermore, it creates a physical barrier that encourages the mycelium to form a dense network, signaling the transition from vegetative growth to reproductive growth. The casing layer needs to be sterile and have a specific pH and moisture content to promote healthy mushroom development.
Incubation and Mycelium Growth
Following spawning, the compost is held under specific environmental conditions during the incubation period, also known as spawn run. During this phase, the mushroom mycelium actively grows and spreads throughout the compost, colonizing it completely. The optimal temperature for mycelial growth is typically maintained, along with appropriate humidity levels. Air exchange is also important, though less critical than in later stages, to provide oxygen without drying out the substrate. This period usually lasts for several weeks, during which the white, thread-like mycelium becomes visibly dense, indicating successful colonization. Any signs of contamination, such as green mold or unusual odors, must be addressed promptly during this critical incubation stage to protect the crop.
Pinning and Mushroom Development
Once the mycelium has fully colonized both the compost and the casing layer, conditions are adjusted to induce “pinning,” which is the formation of tiny mushroom primordia. This is often achieved by lowering the temperature, increasing humidity, and introducing fresh air. These environmental changes stress the mycelium, signaling it to shift from vegetative growth to reproductive growth. Within a few days, small, white pinheads (the earliest stage of a mushroom) begin to emerge on the surface of the casing layer. These pins then rapidly grow and differentiate into mature button mushrooms, with caps and stems developing over the next week or so. Careful control of temperature, humidity, and carbon dioxide levels during this phase is essential for producing uniform and healthy mushrooms. For those interested in regional agricultural practices, exploring button mushroom farming in Zimbabwe can offer unique insights.
Harvesting
Harvesting button mushrooms requires careful technique to ensure quality and to encourage subsequent flushes. Mushrooms are typically ready for harvest when their caps are firm and rounded, and the veil (the membrane covering the gills on the underside of the cap) is still intact or just beginning to break. They should be picked by gently twisting them from the casing layer, avoiding damage to the surrounding pins or younger mushrooms. Cutting the stem can also be an option, provided it’s done cleanly. It’s crucial to remove any remnants of the mushroom base from the casing to prevent decomposition and potential pest issues. Harvesting is usually done in “flushes,” with several waves of mushrooms appearing over a period of weeks, allowing for continuous production.
Sorting and Grading
After harvesting, button mushrooms undergo a sorting and grading process to categorize them based on quality, size, and appearance. This step is important for meeting market standards and consumer expectations. Mushrooms are typically inspected for any signs of damage, disease, or insect infestation. Factors such as cap size, stem length, color, and firmness are considered. Common grades might include “premium” for perfectly formed, blemish-free mushrooms, and “standard” for those with minor imperfections. This ensures that only the highest quality produce reaches the consumer, while also identifying mushrooms suitable for processing or other uses. Proper sorting and grading contribute to brand reputation and market value. Consider specific regional approaches like button mushroom farming in Odisha for localized knowledge.
Packaging and Storage
Effective packaging and storage are essential for maintaining the freshness and extending the shelf life of harvested button mushrooms. Mushrooms are highly perishable, and improper handling can lead to rapid deterioration. Packaging typically involves breathable containers that prevent moisture buildup while allowing for some air exchange. Common packaging materials include punnets, trays, or bags designed to protect the delicate mushrooms from physical damage and desiccation. For storage, mushrooms should be kept in cool, refrigerated conditions, ideally between a specific temperature range, with high humidity. This slows down their metabolic processes, thereby preserving their texture, flavor, and nutritional value until they reach the consumer. Optimal storage practices are a final critical step in the button mushroom farming process. For scientific insights into mushroom biology and cultivation, resources from the National Center for Biotechnology Information (NCBI) are invaluable.
Step-by-Step Button Mushroom Farming Process
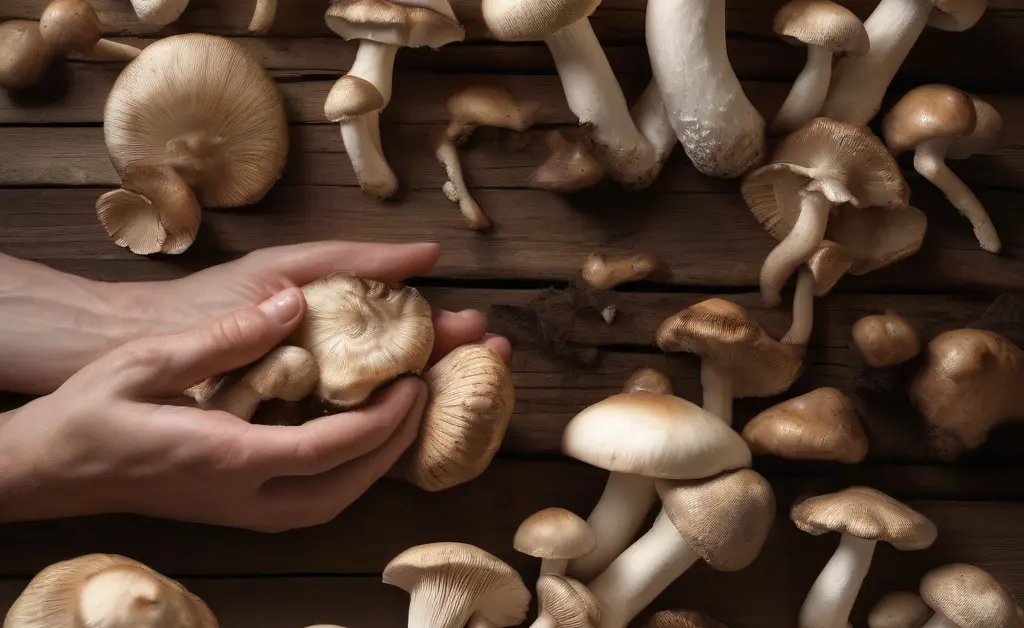
Navigating the journey of cultivating button mushrooms can be highly rewarding, offering fresh produce and a deeper connection to food production. The entire button mushroom farming process, while detailed, is a logical sequence of stages, each building upon the last to ensure optimal growth and yield. This section provides a consolidated overview, highlighting the key actions and considerations for each step, guiding cultivators from preparation to harvest with precision.
The journey begins with the meticulous **Compost Preparation and Pasteurization**. This involves combining specific organic materials and subjecting them to controlled fermentation and heat treatment to create a nutrient-rich and sanitized growing medium. Following this, **Spawning** takes place, where selected mushroom spawn is evenly mixed into the cooled compost, initiating the colonization process. Once the compost is thoroughly permeated by the mycelium, a **Casing Layer** is applied. This non-nutritive layer helps maintain humidity and encourages fruiting body formation. The **Incubation and Mycelium Growth** phase sees the mycelium rapidly colonize both the compost and the casing. This period requires stable environmental conditions to ensure robust mycelial development. After full colonization, conditions are carefully adjusted to induce **Pinning and Mushroom Development**, where tiny mushroom primordia emerge and quickly grow into mature fungi. Finally, **Harvesting** occurs when the mushrooms reach their optimal size and condition, typically in successive flushes. Post-harvest, mushrooms undergo **Sorting and Grading** to ensure quality and consistency, before being moved to **Packaging and Storage** to maintain freshness until distribution. Each step is interdependent, and careful adherence to best practices throughout the button mushroom farming process significantly influences the success of the cultivation effort.
This article is written for general understanding and not for medical decision-making. The information provided is intended for educational purposes and should not be used as a substitute for professional advice. Always consult with qualified experts for specific concerns related to health, nutrition, or agricultural practices. The content does not endorse any particular product or method over another.
FAQ
What are the main steps in button mushroom farming?
The cultivation process typically involves preparing a composted substrate, inoculating it with spawn, allowing the mycelium to colonize the compost, and then initiating fruiting through environmental changes. The final stage consists of harvesting the mature mushrooms.
How do you prepare compost for button mushroom cultivation?
Compost preparation is a crucial step that involves carefully mixing agricultural byproducts like straw and manure with water and a nitrogen source. This mixture undergoes a controlled composting process, often in stages, to break down the raw materials and create a nutrient-rich medium suitable for mushroom growth. This specific phase of the button mushroom farming process is essential for developing the right texture and microbial balance.
What is the role of spawn in mushroom farming?
Spawn serves as the “seed” for mushroom cultivation, containing the vegetative part of the fungus, known as mycelium, grown on a grain or sawdust carrier. When introduced to the prepared substrate, the mycelium grows throughout, breaking down the nutrients and preparing the medium for mushroom development. It is the essential starting material that ensures successful colonization.
What conditions are needed for button mushroom growth?
Button mushrooms require specific environmental conditions to thrive, including a consistent temperature range, high humidity, and adequate fresh air exchange. The substrate must also be kept moist without becoming waterlogged to support the healthy development of the mycelium and subsequent fruiting bodies.
How long does it take to grow button mushrooms?
The entire cycle from inoculation to harvest for button mushrooms can vary, but it generally spans several weeks. Following colonization, a period of environmental conditioning is needed to trigger fruiting, after which the mushrooms develop and mature for harvesting.
Continue reading
You May Also Like
The Science and Practice of Button Mushroom Cultivation
This comprehensive guide to button mushroom farming details the entire cultivation process, from substrate composting to successful harvesting.
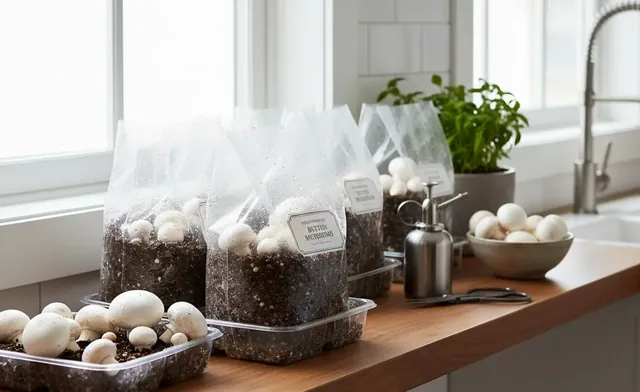
A Home Grower's Guide to Button Mushrooms
This guide makes button mushroom farming at home simple with proven steps for setting up your space, cultivating the crop, and harvesting.
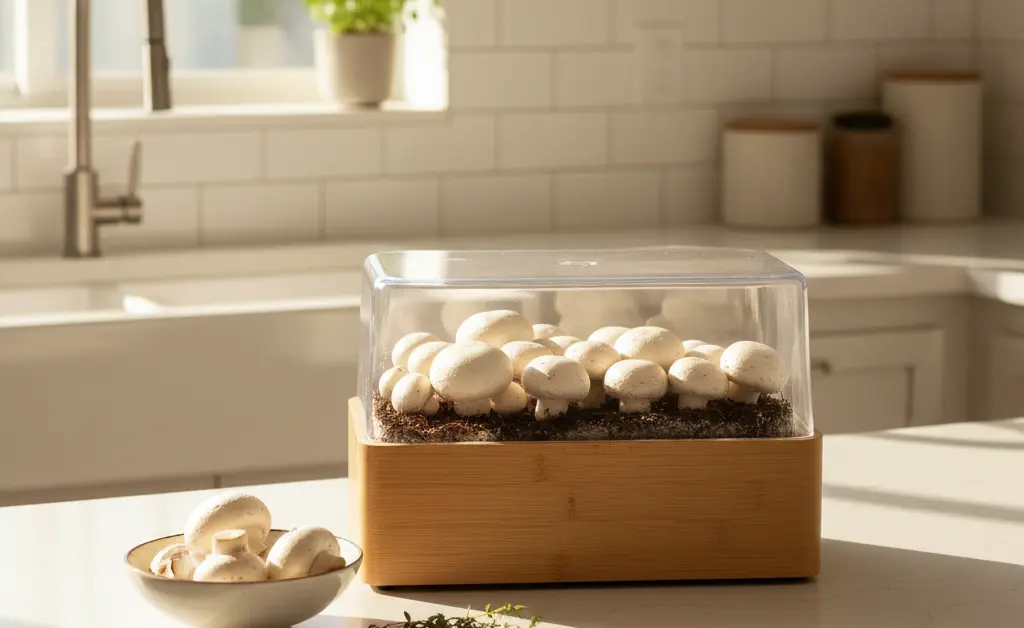
A Home Grower's Guide to Button Mushrooms
This guide makes button mushroom farming at home simple with proven steps for setting up your space, cultivating the crop, and harvesting.